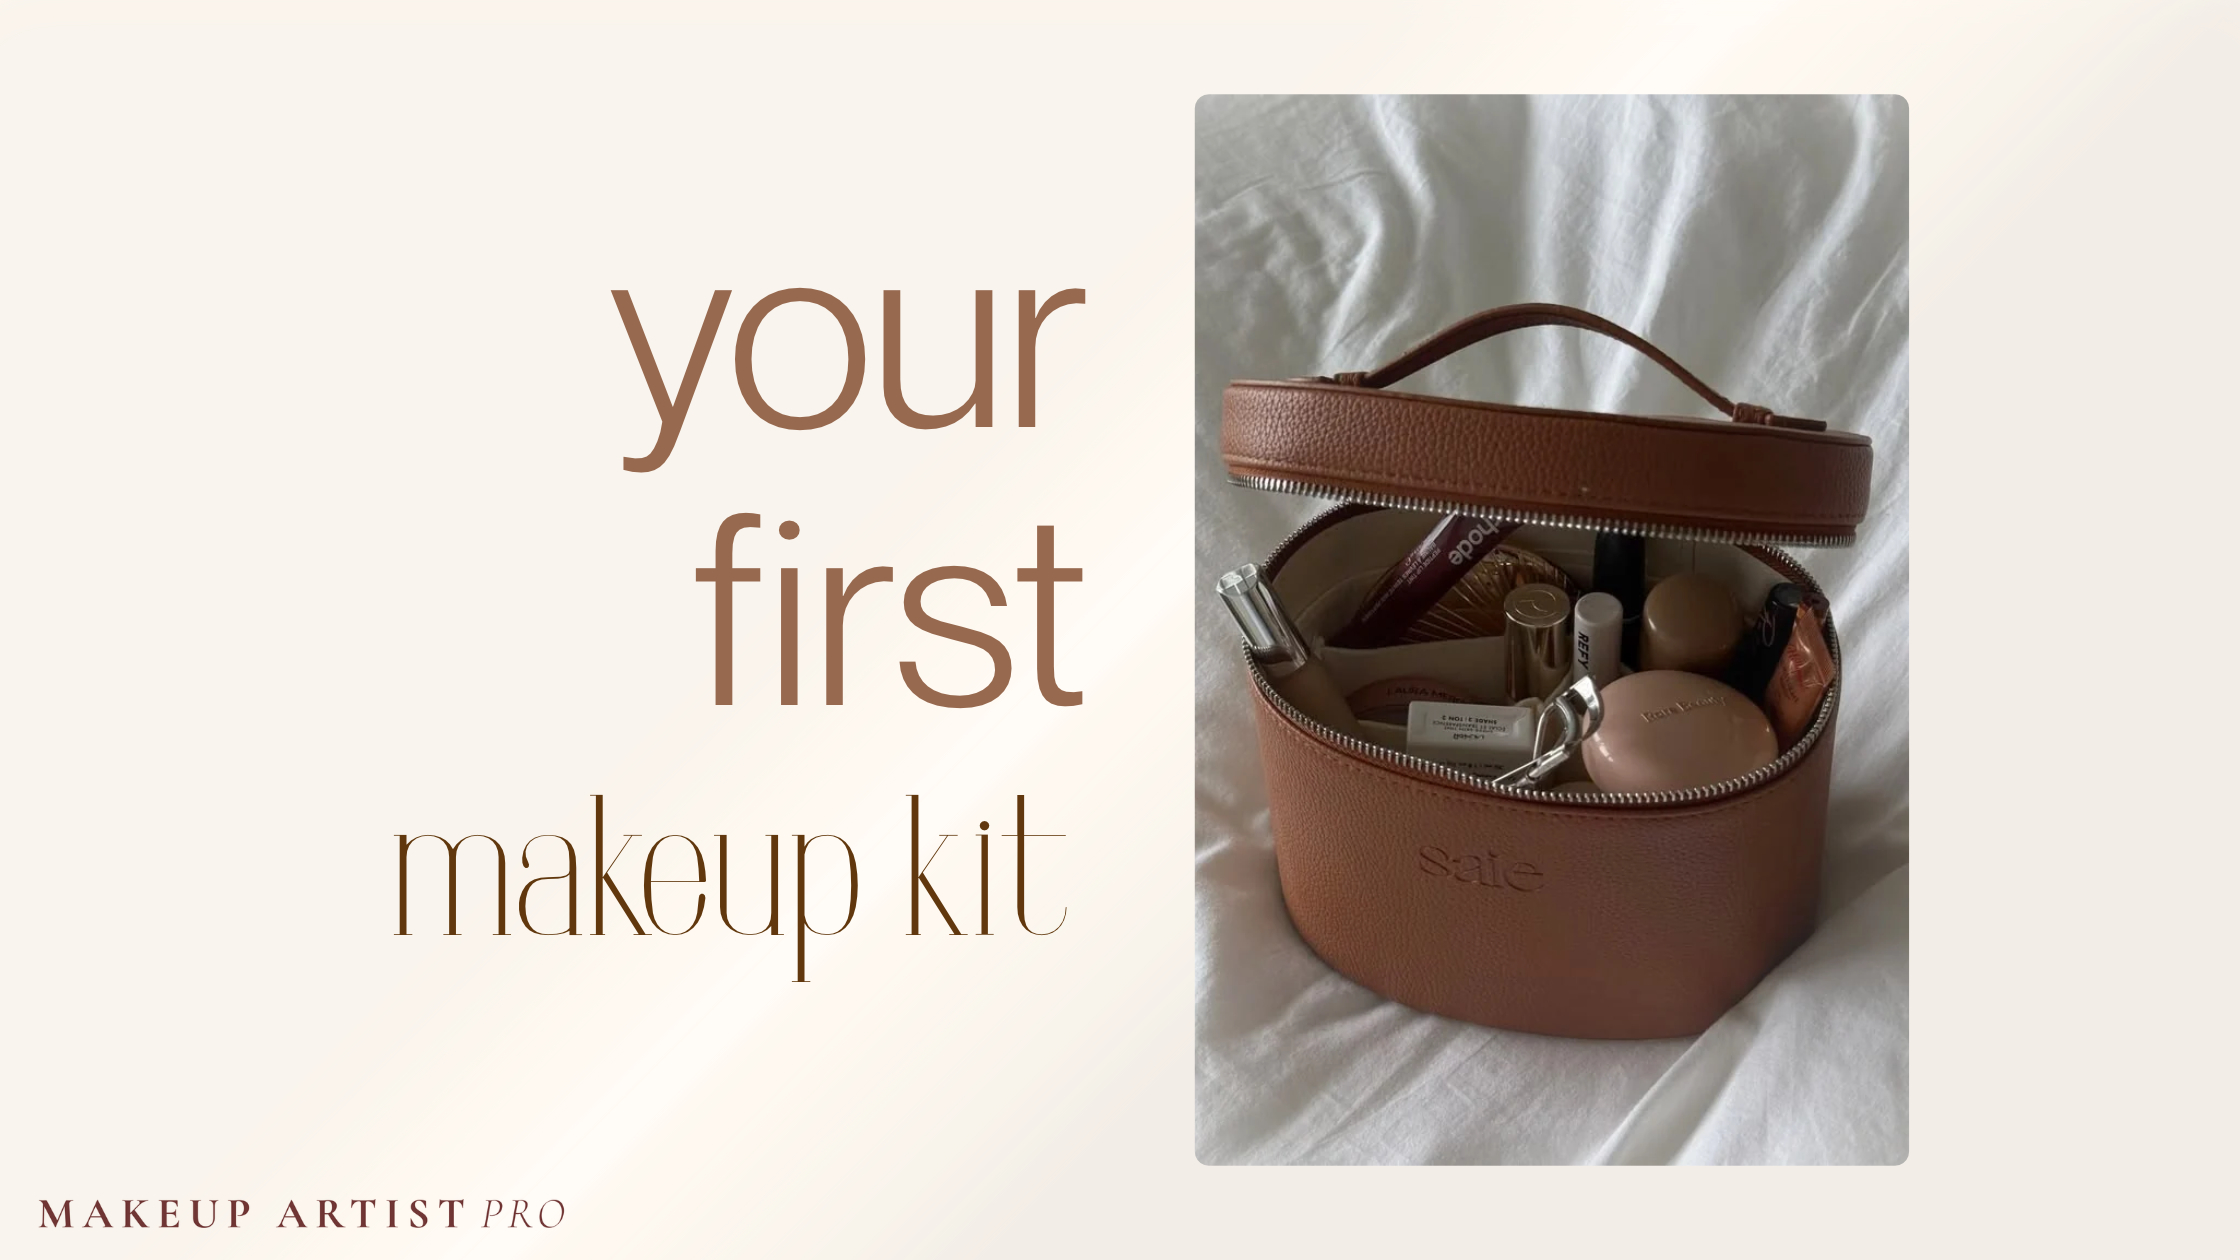
If you're a beginner at makeup, I get it. Trying to figure out what each product does and how to find your foundation shade can feel a little overwhelming. The trick is to start with a few products you actually want to wear, then add the extras as you learn what they're for and start to feel like something is missing from your routine. Your makeup bag can be small and still be ready for a lovely everyday look.
The Beginner Makeup Kit Checklist
Use this as a starting point for your own makeup. Choose the steps you enjoy. None is compulsory.
| Start here | What to look for | Can it wait? |
|---|---|---|
| A base, if you want coverage | One shade-matched concealer, skin tint, or foundation | Yes. Bare skin is a perfectly good option. |
| Blush | A shade and finish you like, in a cream or powder | If you ask me, no 😂 But you can totally try anti-blush for a softer, on-trend cheek. |
| Mascara | A formula you can remove gently | Totally. You can always go with a brown mascara to start light and soft. |
| Lip colour | A balm, gloss, or lipstick you'll actually use | Use one you already own. |
| A blending tool | Clean fingers, a sponge, or a brush suited to your products | You don't need a full brush set. |
Keep using the moisturizer and sunscreen that work for you. Primer, setting powder, setting spray, bronzer, eyeliner, and a big eyeshadow palette are optional. Buy one when you have a reason for it, not because the internet says every face needs twelve steps.
Pick one product for each step you want to try. A concealer can be your entire base. You don't have to buy foundation as well.
What to Buy First, Next, and Later
Try your first few products for several days before adding more. You'll quickly notice whether you want more coverage, a different lip colour, or a brush that makes blush easier to apply. That's more useful than filling a drawer in one shopping trip.
How Much Should a Beginner Makeup Kit Cost?
There isn't one correct total. Your cost depends on what you already own, which steps you want, and the products and shades available where you shop. Set a comfortable limit first, then add up the actual products in your basket before you check out.
If you look at a product and you are excited to buy it, but you don't know how or when to use it, you won't. The market is oversaturated, with good and exciting products too, and that is very tempting, I get it, but it does not mean you need to buy it all.
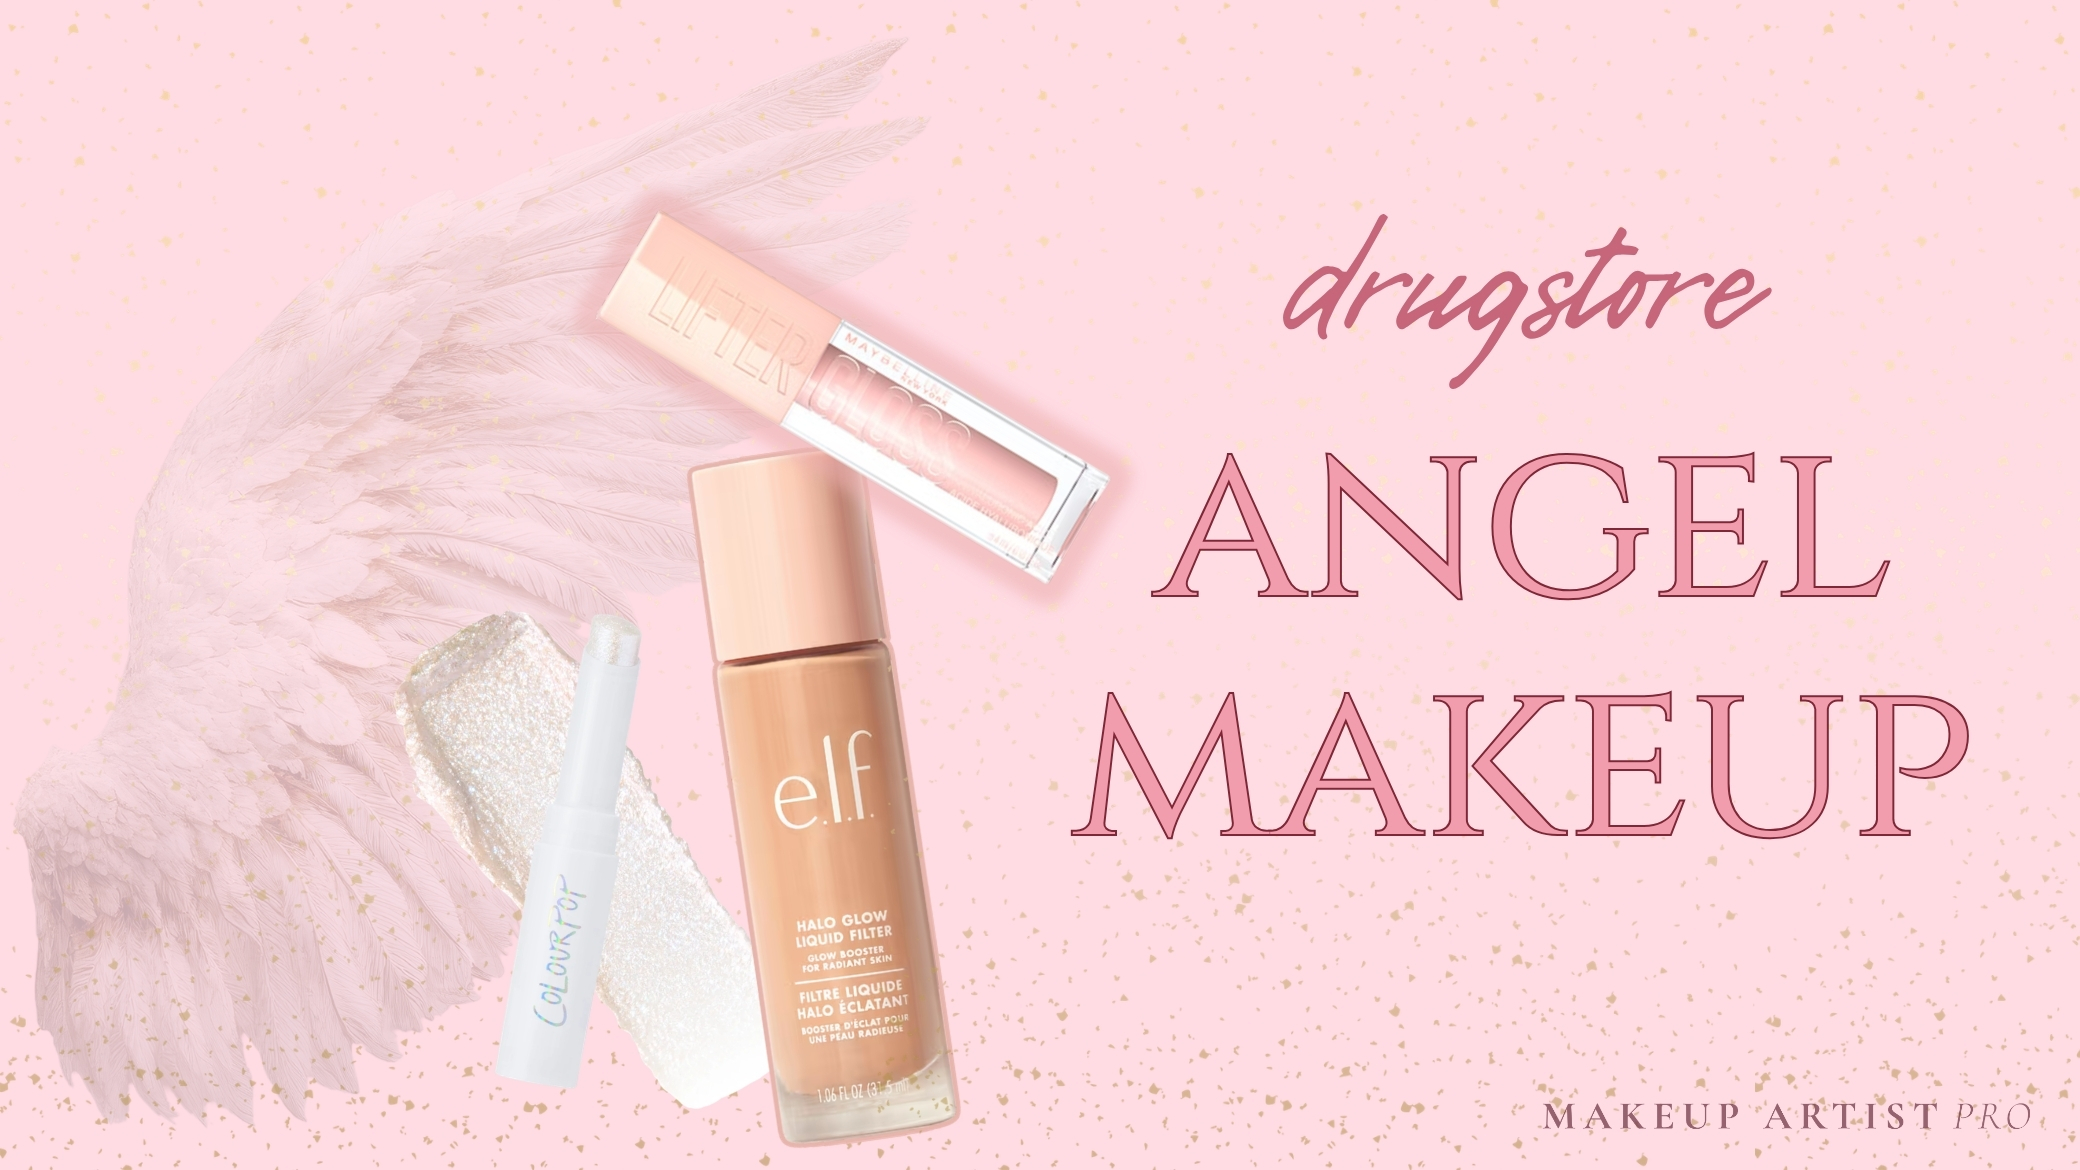
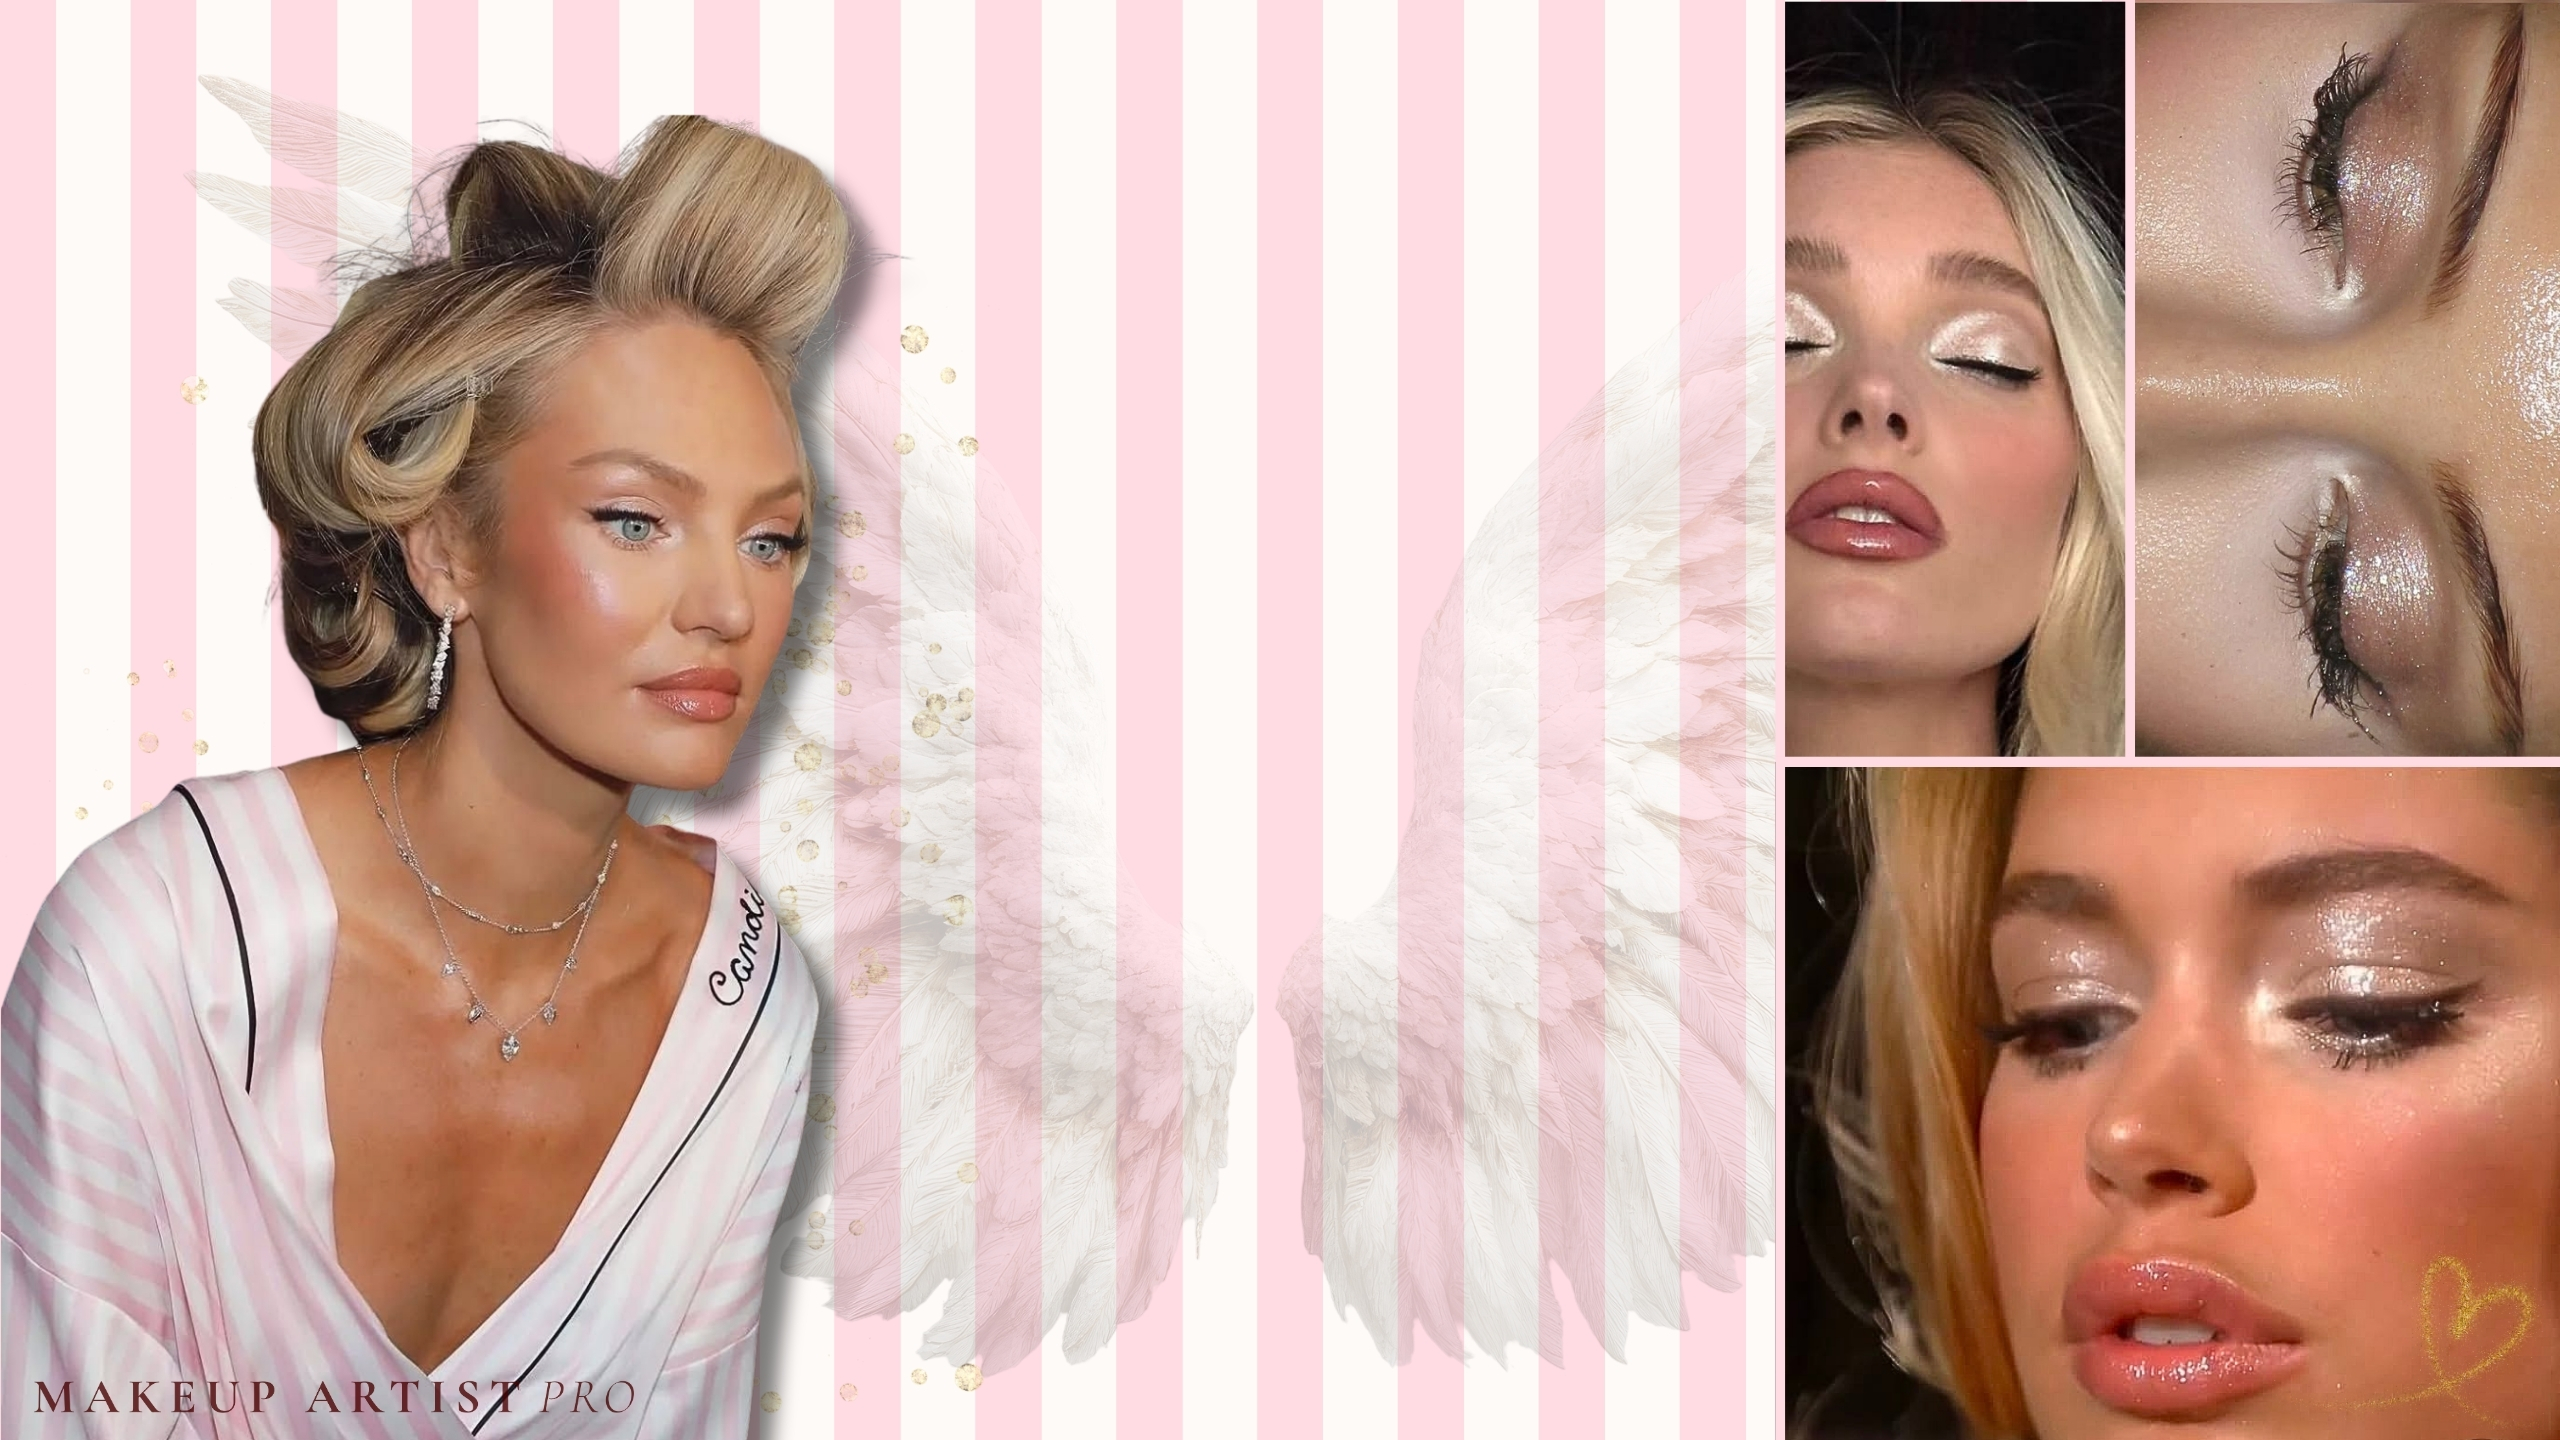
Higher prices aren't a guarantee of a better result. We put that to the test with one of the most wanted looks of all in our Victoria's Secret Angel makeup on a budget guide. Spend more only when the shade, finish, packaging, or ease of use is worth the difference to you. If you're unsure of your foundation shade, try a sample at home before buying a full bottle. You can check it in daylight and see how it looks after a few hours. We explain why in our guide to testing your foundation shade at home.
Products to Consider
When assembling a beginner kit, try to understand or remember which features you'd like to accentuate on your face. Did you see something on Instagram that was particularly appealing to you? Maybe you love the trend of blush, maybe you lean towards anti-blush. Nikki La Rose, a makeup artist with over 18 years of experience, once shared in an interview with Jouer that she could never go out without doing her eyebrow routine. Maybe you consider this step essential for yourself as well.
If you've never done makeup before, start really, I mean really small. Pick up a lip and cheek product. It can be a tint. See if you like the shade. Does it pull orange? Is it too pink? Then, pick up a brow product. After, move to mascara and so on. The more you use makeup (not the more makeup you use), the more you will understand your preferences in products, formulas, placement and finish.
Affiliate disclosure: Some product links may earn Makeup Artist Pro a commission if you buy, at no extra cost to you.
Best for: trying a rosy liquid tint on your lips and cheeks. Start with a little and blend one cheek at a time. The formula contains fragrance.

Best for: trying one colour on lips and cheeks. Start with a little and check how the nude shade looks on your skin.

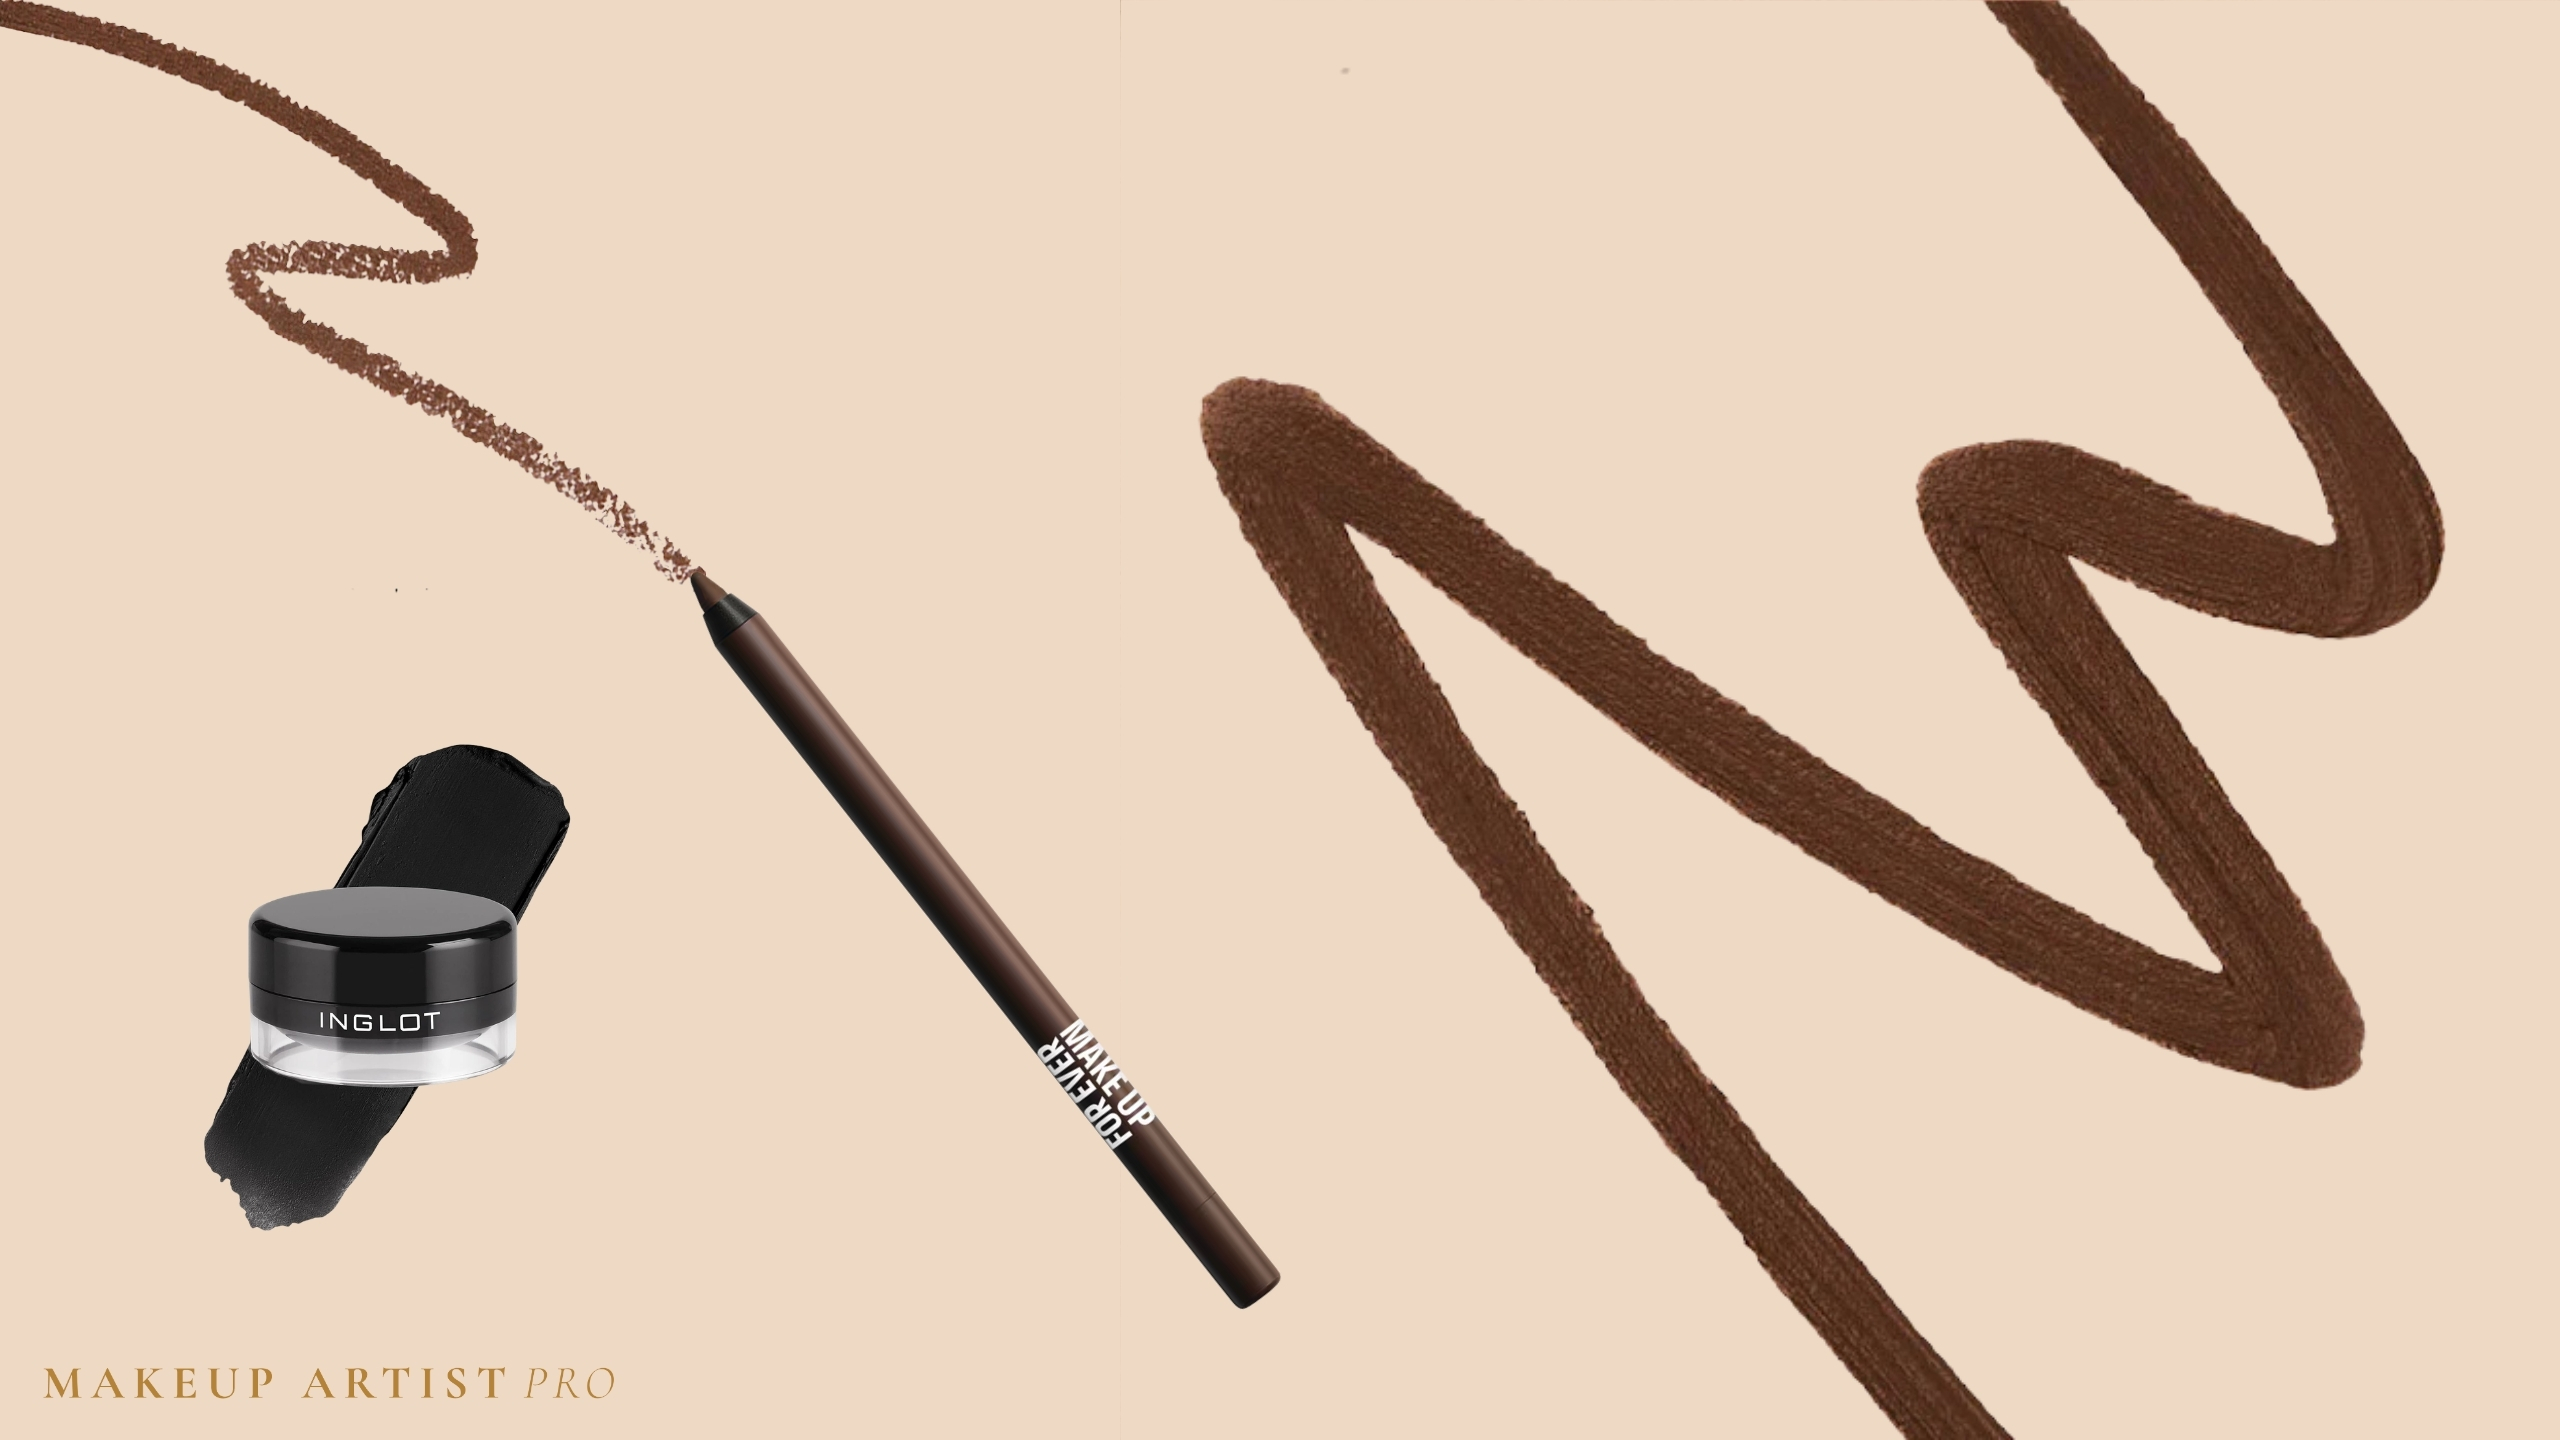
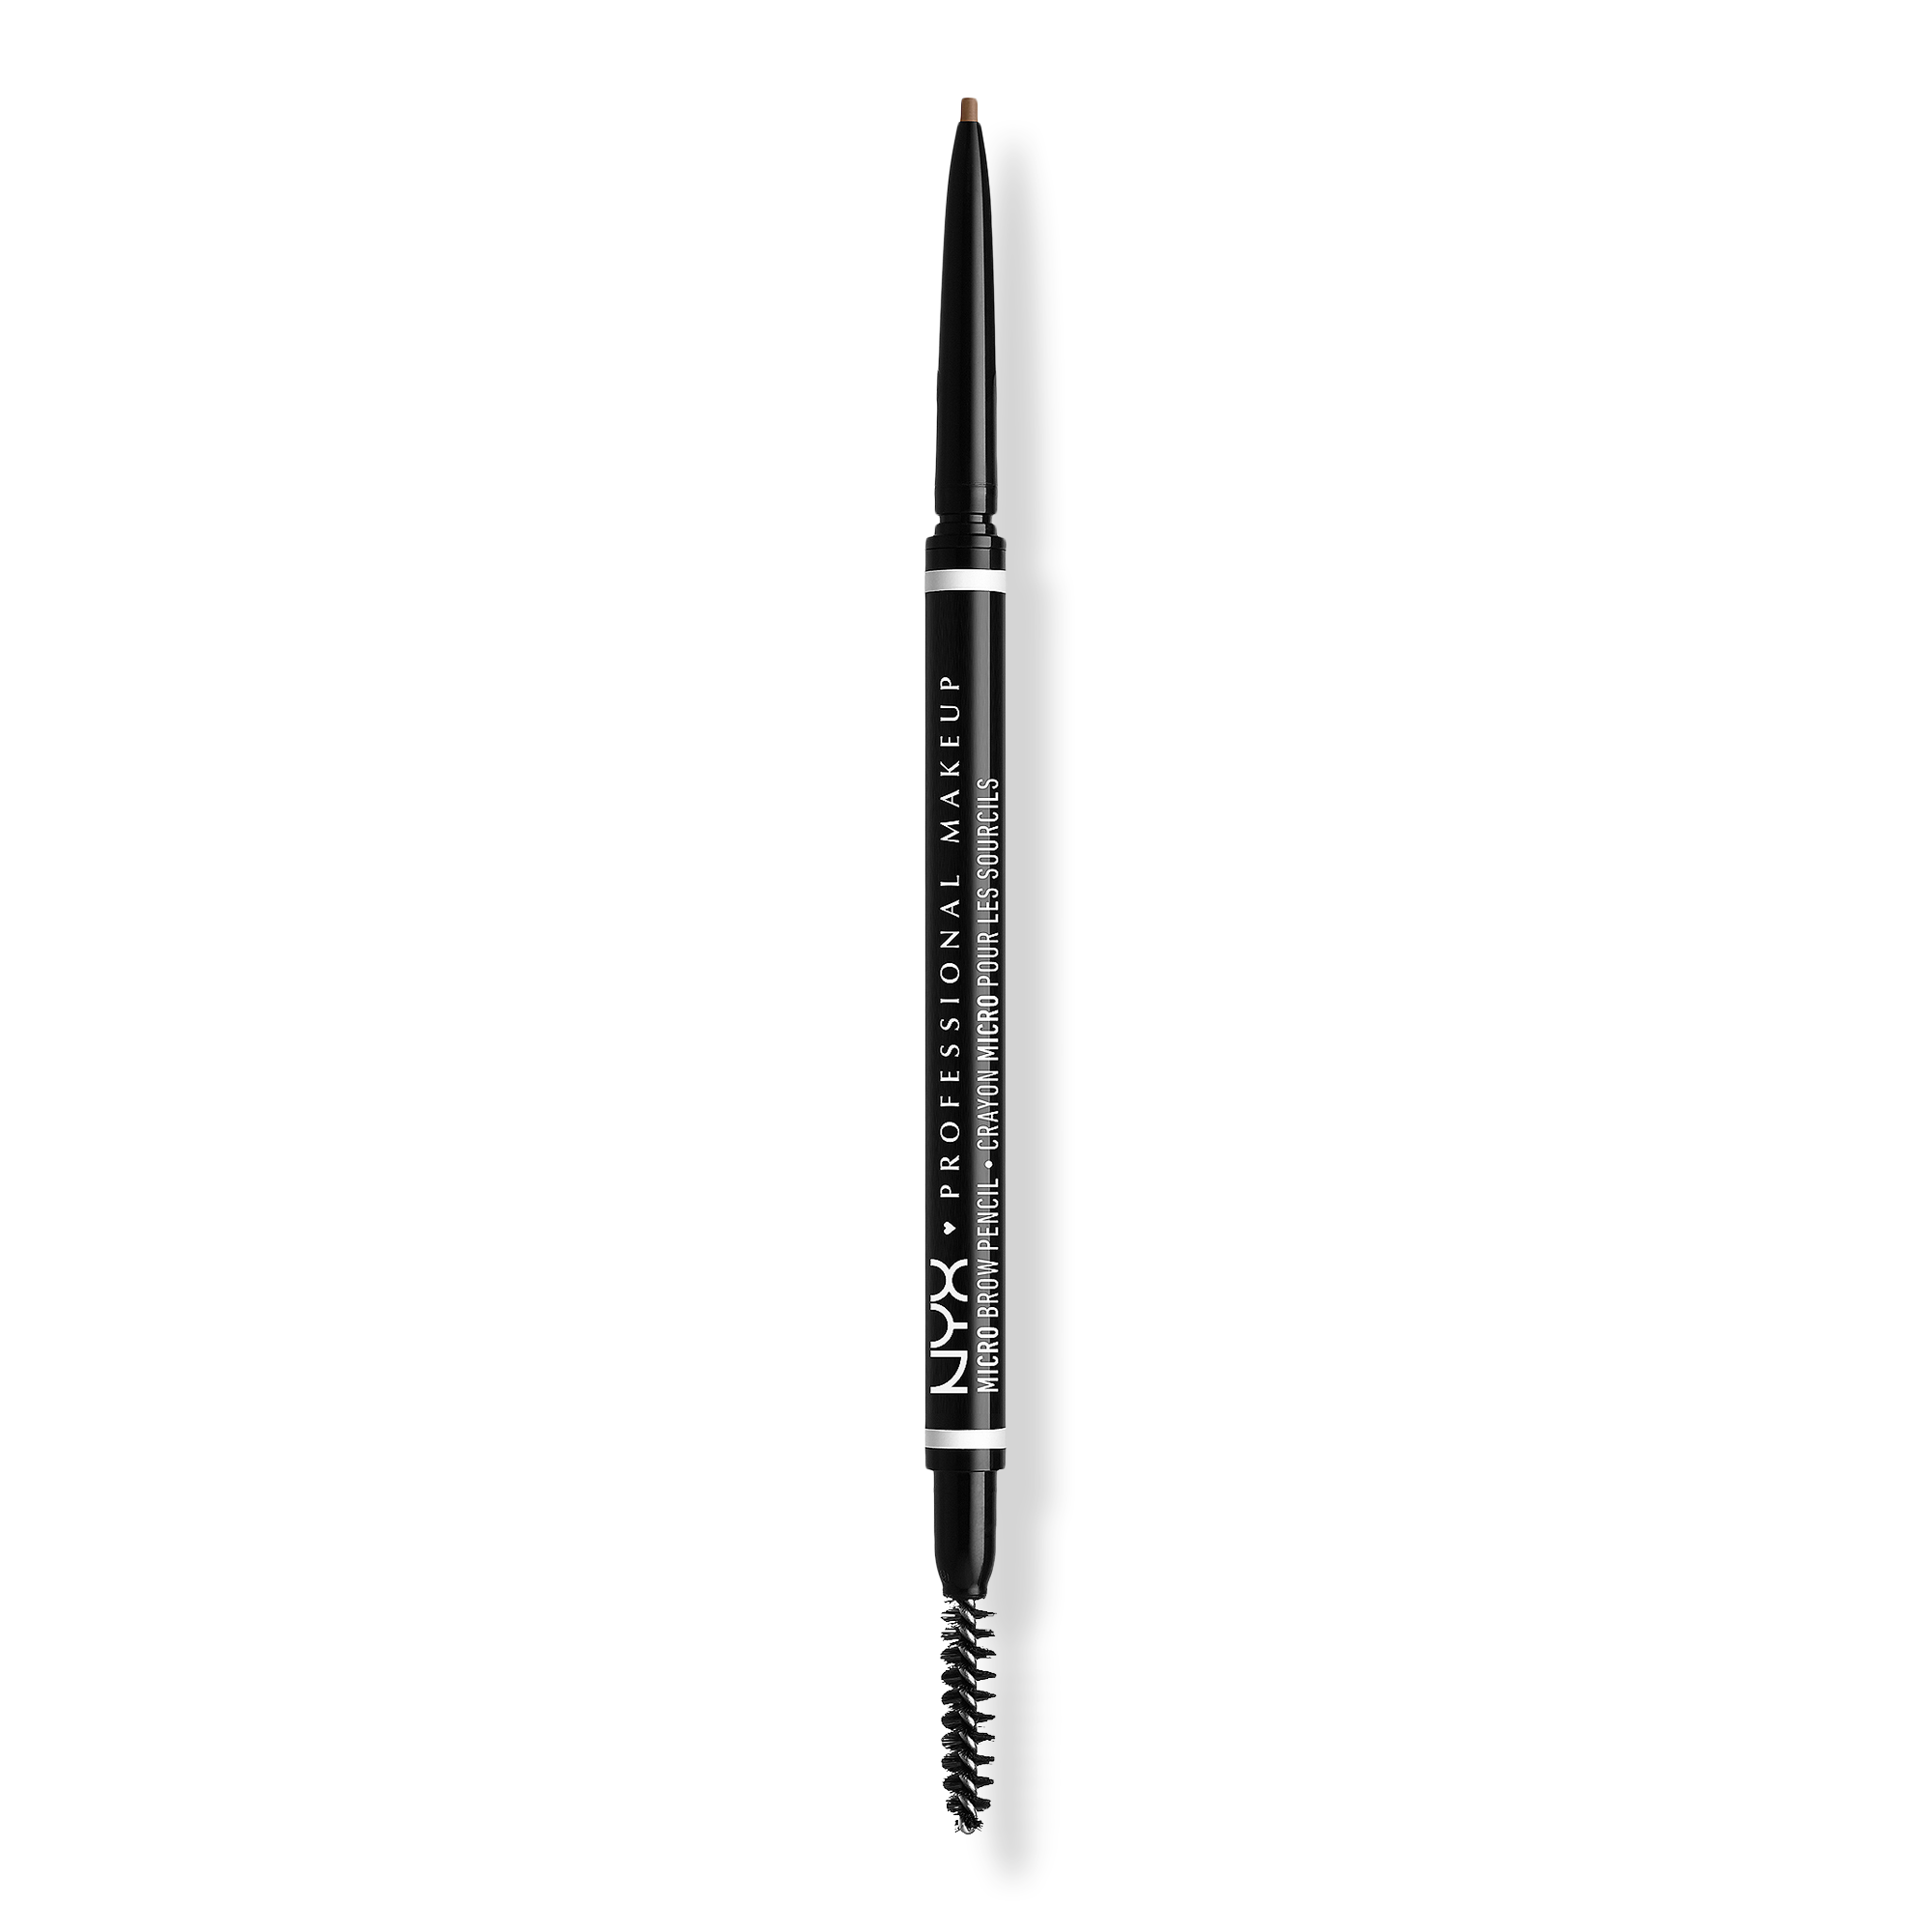
Best for: filling small gaps with fine strokes. The slim tip can break if extended too far. Twist up a little at a time and use light pressure.
Best for: trying a brown mascara when you want a softer alternative to black. Apply a light coat first and build if you want more definition.

What Is Anti-Blush?
Despite the name, anti-blush doesn't mean skipping blush! It's a softer take on cheek colour: think muted rose, mauve, beige or brown instead of a bright pop of pink. You still get some colour and dimension, just with a more understated finish.
Anti-blush can be amazing for olive undertones, especially if brighter blush shades tend to look a little too intense on your skin. If you want to learn more about what that means and which colours to look for, read our guide to blush for olive skin.
The shade that looks subtle on you depends on your skin tone and the look you like. Try a rosy beige or muted mauve if you want a little pink, or a warm brown or terracotta if you prefer a warmer cheek. Swatch first when you can: a shade that looks soft in the pan might show up quite differently on your skin.
Here are three shades to explore. Check a swatch against your skin first, because the same colour can look subtle on one person and more noticeable on another.
Blush, Please is a light neutral mauve. Tap the cushiony formula on with your fingers and build it gradually. So Natural is another shade to explore.

Nude Kiss is a nude cream you can blend with your fingertips. Start with a little and add more if you want it.
Long Beach Iced Tea is an earthy rosy pink with a matte finish, if you'd like a little pink in your softer cheek look.

Start with a light layer on your cheeks and build it up until you like what you see. If you already have a blush you love, try applying less of it before buying something new. And if a bright blush makes you happy, please wear the bright blush. Trends are supposed to be fun!
How to Choose a Foundation or Concealer
Start by deciding where you want coverage. Concealer is useful for small areas. A skin tint or foundation can even out a larger area. You can use either on its own, or combine them if you like the result. Our concealer vs foundation guide explains the difference.
For foundation, compare a few close shades along your jaw and look at them in daylight when possible. Give the swatch time to settle, then see which one blends into your face and neck. Don't worry if the first choice isn't right. Lighting and tiny online swatches don't always make this easy. Our guide to testing foundation shades at home walks you through it step by step.
For concealer used on spots or redness, start close to your skin tone. A brighter under-eye shade is optional, not a rule. Apply a small amount, blend the edge, and add more only if you want it. If undertones feel confusing, start with how to find your skin undertone, then explore the difference between warm and cool undertones.
Check the shade near a window before you buy. Shop lighting can make a close match look different outside.
The Tools You Actually Need
Clean fingers can blend many liquid and cream products. A damp sponge is useful for pressing in base. And I don't know who needs to hear this, but don't put a wet sponge straight into a closed makeup bag. A soft brush gives you an easy way to apply powder blush. If you use eyeshadow, add one small fluffy brush. That's plenty to begin with.
Don't invest in super expensive brushes at first. Start with something budget-friendly. As you work with makeup, you'll learn more about the brush shapes and fibre types you like to use.
An Easy Everyday Makeup Routine
- Prep: Apply your usual moisturizer and sunscreen as directed. Let your skin feel comfortable before adding makeup.
- Add coverage if you want it: Tap a small amount of concealer where you'd like it, or blend a light layer of foundation from the centre of the face outward.
- Add cheek colour: Smile if that helps you find your cheeks, then blend blush where you like the effect. Build it slowly. You can always add more.
- Define eyes or brows: Apply mascara carefully or use short, light pencil strokes in sparse brow areas. Skip either step if it isn't your thing.
- Finish lips: Add balm, gloss, or lipstick. Have a look in daylight and soften any edges that bother you.
Want a softer finish? The natural makeup look takes you through application in more detail. If your base starts sliding or looking patchy, our foundation separating guide helps you choose a first fix before you buy anything else.
What Can Wait?
Primer can be useful for a particular finish or feel, but it isn't required. Try your base without it first. Powder is optional too: add a little where you want to reduce shine or set makeup rather than covering your whole face by default.
A giant palette, contour kit, false lashes, and several shades of the same product can wait until you know you'll enjoy them. A four-colour palette or a single shadow can be lovely, but so can no eyeshadow at all. There are no makeup police checking your bag.
Keep Your Kit Clean
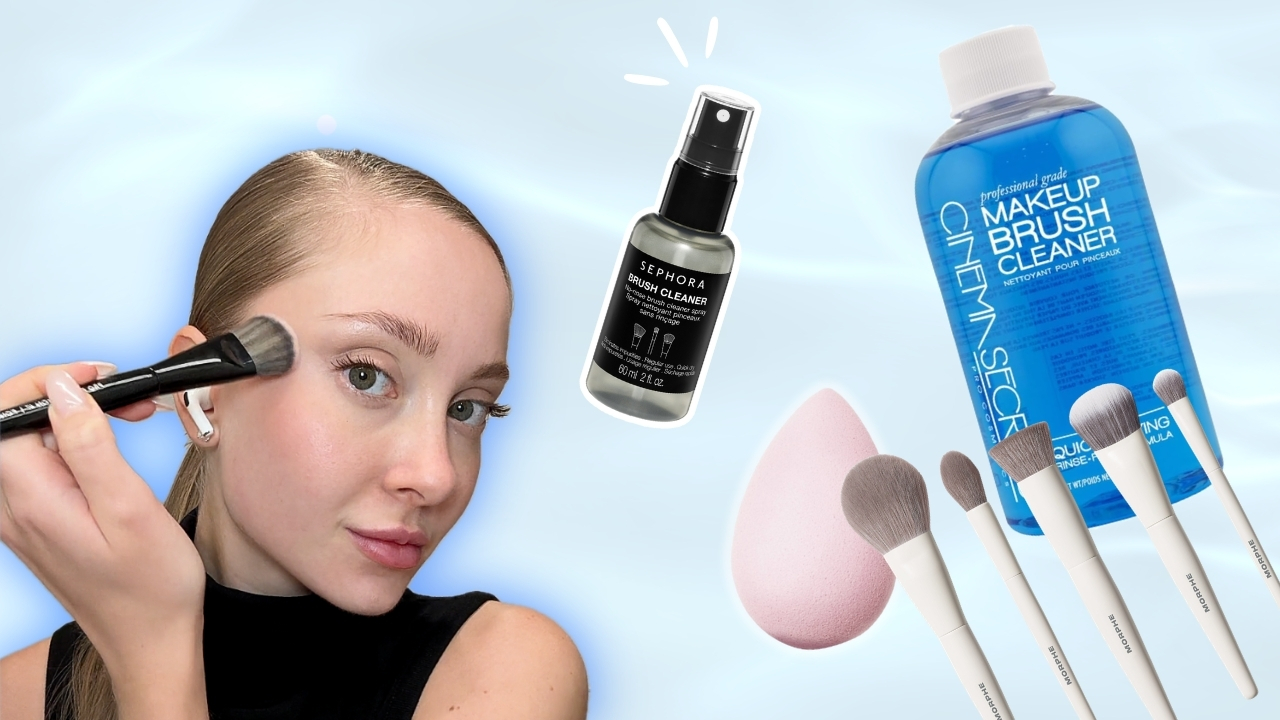
Wash your hands before applying makeup and clean brushes and sponges regularly. Our brush cleaning guide covers the steps. Let tools dry fully before putting them away.
For eye products, the FDA recommends not sharing cosmetics, not adding saliva or water to mascara, and discarding eye cosmetics if you develop an eye infection. Follow the product's own directions and stop using it if it irritates your skin or eyes.
If you're practicing on another person, don't share a mascara wand or lip applicator. Use appropriate disposable applicators and clean tools. A personal beginner bag isn't automatically a sanitary professional kit.
Frequently Asked Questions About Beginner Makeup Kits
Start with a base product if you want coverage, a cheek or lip colour, and mascara or a brow product. Use clean fingers or one suitable brush. Add the rest as you discover what you enjoy.
No. Concealer alone works for targeted coverage, while foundation covers a larger area. Use both only if that gives you the finish you want.
No. Try your usual skin prep and makeup first. A primer is an optional extra if you want to try a different finish or feel.
There is no set number. Clean fingers can apply many creams and liquids. One cheek brush and an optional sponge or eye brush can be enough for a simple routine.
Start with a price you're comfortable paying. Choose based on shade, finish, and how you plan to use the product rather than assuming a higher price means a better fit.
Build a Kit You'll Actually Use
Pick a few useful pieces, give yourself time to practice, and add the fun extras when you want them.
A good makeup kit for beginners fits your face, your mornings, and your budget.