The smokey eye is the single most requested eye makeup look — and the one most people think they cannot pull off. That ends today. Whether you have never touched eyeshadow or you have been doing smokey eyes for years and want to sharpen your technique, this smokey eye tutorial covers every angle: the classic step-by-step, a one-shadow shortcut for beginners, adaptations for every eye shape, the best color pairings for your eye color, and the trending variations dominating 2026. Every technique in this guide is rooted in professional artistry and real-world application.
What Is a Smokey Eye (and Why It Never Goes Out of Style)
A smokey eye is not a color — it is a technique. The shadow is darkest at the lash line and gradually fades lighter as it moves upward, creating a gradient that mimics the soft diffusion of smoke. That is the entire principle. You can execute it in black, brown, navy, plum, emerald, or any color that speaks to you.
The smokey eye traces back over 4,000 years to ancient Egypt, where kohl made from galena was smudged around the eyes for beauty, spiritual protection, and sun glare reduction. In the 1920s, the discovery of Tutankhamun's tomb ignited "Tut-mania," and silent film actresses like Clara Bow adopted heavy, smudged eye looks to emote on black-and-white film. The 1990s brought grunge kohl — lived-in, blended, beautifully messy. And now, in 2025-2026, the smokey eye is back with a vengeance: Marie Claire, Grazia, and the IPSY 2026 forecast all confirm the resurgence, with eyeshadow and eyeliner searches up 64% year over year.
— Pat McGrath, legendary makeup artist and founder of Pat McGrath Labs. The smokey eye is not about how many products you use — it is about understanding the gradient.
The reason this look never dies is simple: it works on every eye shape, every skin tone, and every occasion. A taupe smokey eye is office-appropriate. A black smokey eye is red-carpet ready. A plum smokey eye makes green eyes look electric. Once you understand the gradient principle, you can adapt it endlessly.
Tools and Products You Need
Before touching a single shadow, make sure you have the right tools. The products matter less than most people think — but the brushes and primer matter more than most people realize.
Eye primer is non-negotiable. Film-forming polymers in primers create a flexible mesh that holds pigment particles in place while silica absorbs excess oil. Without primer, the constant skin-to-skin contact on your eyelid causes shadow to separate and crease within hours. The Urban Decay Eyeshadow Primer Potion is the industry standard, but the Milani Eyeshadow Primer delivers nearly identical performance at a third of the price.
Brushes make or break the blend. You need three: a flat shader brush for packing on color, a fluffy blending brush for diffusing edges, and a pencil brush for detail work along the lash line. The Sigma Beauty E25 Blending Brush is a top pick among professionals — it is the right density and shape for crease blending without being so large that you lose control. For a complete set on a budget, the Real Techniques Eye Shade and Blend Set covers all three.
Eyeshadow palette: You need at least three shades — a transition tone close to your skin, a medium depth shade, and a dark shade. The Anastasia Beverly Hills Soft Glam Palette has the ideal range for both brown and black smokey eyes. For a budget-friendly option, the Milani Soft & Sultry Eyeshadow Palette delivers 12 smoky matte and metallic shades with impressive pigment and minimal fallout at a fraction of the price.
Eyeliner: A soft, smudgeable pencil is easier to work with than liquid for smokey eyes. The Maybelline TattooStudio Gel Pencil Liner has the perfect balance between softness for smudging and staying power once set. For drugstore, the Revlon ColorStay Waterproof Eyeliner is a reliable workhorse that glides on smoothly and holds up through long wear. For precision tightlining and ultra-thin work along the lash line, the Hourglass 1.5mm Mechanical Gel Liner is unmatched — its 1.5mm tip is the thinnest gel liner available, waterproof, and perfect for building smokey definition without bulk.
Classic Smokey Eye: Step-by-Step Tutorial
This is the foundation technique that every other variation builds on. Master this, and every smokey eye — brown, colorful, editorial — becomes a modification rather than a new skill.
Step 1: Prime. Apply eye primer from lash line to brow bone. Let it set for 60 seconds, then dust a skin-toned matte shadow over the entire lid to create an even canvas. This is not optional — it is the difference between a smokey eye that lasts 2 hours and one that lasts 12.
Step 2: Set your transition shade. Choose a matte shade 2-3 tones darker than your skin — warm brown for most skin tones, taupe for cool undertones, terracotta for deeper skin. Using your fluffy blending brush, sweep this shade in windshield-wiper motions just above your crease, concentrating on the outer half of the eye. This shade acts as the bridge between bare skin and the dark shades coming next.
Step 3: Build the mid-tone. Take a medium-dark shade like charcoal or deep brown and apply it to the outer third of your lid using a flat brush and tapping motions to deposit color. Bring it up into and slightly above the crease. Then switch to your clean blending brush and diffuse the edges using small circular motions — Wayne Goss's signature technique — until the color "bleeds out to nothing." Keep the center of your lid lighter to preserve dimension.
Step 4: Apply the darkest shade. This is where the drama lives. Using your darkest shade — black, espresso, or deep plum — apply it to the outer corner in a V shape. Do not bring it past the outer edge of your iris. Keep it concentrated and then blend inward and upward. Patrick Ta's rule: keep the darkest point at or along the lash line to draw attention to the eye rather than the makeup.
Step 5: Smoke the lower lash line. Using the same dark shade on a pencil brush, apply along the lower lash line, focusing on the outer two-thirds. Smudge gently and fade the color toward the inner corner using your transition shade. Skip the inner third unless you want an editorial effect.
Step 6: Line and smudge. Draw a pencil liner along the upper lash line, making it slightly thicker at the outer corner. Immediately smudge it with a small brush or your ring finger before it sets — this creates that lived-in, smokey effect rather than a hard line. Optionally line the waterline for extra intensity. If you want to refine your liner technique for your specific eye shape, our eyeliner for hooded eyes guide covers smudge-proof methods that pair perfectly with a smokey eye.
Step 7: Highlight. Apply a champagne shimmer or matte cream shade to the inner corner and just under the brow bone. This contrast is what makes the dark shades pop and prevents the look from appearing heavy or closed-off. Well-groomed brows frame the smokey eye and complete the look — if you are not sure which shape flatters you most, our eyebrow shapes guide breaks it down by face shape.
Step 8: Mascara and lashes. Curl your lashes, then apply 2-3 coats of volumizing mascara, focusing on the outer lashes. The Too Faced Better Than Sex Mascara delivers the volume a smokey eye demands. For extra drama, add half-strip or individual lashes to the outer corners — the Ardell Demi Wispies are the go-to.
Step 9: Clean up. Dip a cotton swab in micellar water and clean any fallout under the eyes. Sharpen the outer edges. Check symmetry. Lock it all in with the Urban Decay All Nighter Setting Spray.
Watch the pros execute this technique — these tutorials show you exactly how it looks in motion:
Easy One-Shadow Smokey Eye for Beginners
If the nine-step process above feels like too much, start here. You can create a beautiful smokey eye with a single product and your fingers in under three minutes.
The finger technique: Take a cream eyeshadow stick or a soft kohl pencil and draw it across your upper lash line. Press your ring finger onto the color and pat it upward across the lid, blending as you go. The warmth of your finger melts cream product into the skin for a seamless, diffused finish. Add a thin line along the lower lash line and smudge with your pinky. Finish with mascara. Done.
This is not a compromise — it is a legitimate technique used by professional makeup artists when time is short. Pat McGrath herself notes that "even the most natural level looks incredible, just a tiny bit of brown shadow." The finger technique with a cream product is genuinely foolproof.
The three-shadow shortcut: If you want slightly more definition, use three shades from any palette. Apply the lightest shade all over the lid, press the medium shade onto the outer two-thirds, and concentrate the darkest shade at the outer corner and lash line. Blend the edges where colors meet. That is it — three steps, three shades, three minutes.
See how simple it really is — these beginners nail it on camera:
How to Adapt a Smokey Eye for Your Eye Shape
The classic tutorial above works beautifully on almond eyes — but if you have hooded eyes, monolids, round eyes, or deep-set eyes, you need specific adjustments. The gradient principle stays the same; only the placement changes. If you are not sure which eye shape you have, our guides on eyeliner for hooded eyes, eyeliner for almond eyes, and eyeliner for downturned eyes each include a visual identification section to help you figure it out.
The challenge: Your crease is hidden by a fold of skin when your eyes are open, so color placed in the crease disappears.
The fix: Apply shadow with your eyes open so you can see exactly where color will be visible. Create a faux crease above your natural fold. Blend color upward and outward, almost creating a soft wing shape. Swap black for medium brown — ultra-dark shades make hooded eyes appear smaller.
Liner tip: Tightline instead of drawing a thick line on the lid. Thick liner disappears into the fold or transfers to the brow bone. Use light, wispy false lashes — dramatic ones can drag hooded eyes down.
Pro move: Wayne Goss recommends placing the brush into the eye socket and working in circular motion with eyes open until the color bleeds out to nothing.
The challenge: No visible crease means the traditional crease-based gradient does not apply.
The fix: Build drama horizontally rather than vertically. Create a V-shape at the outer corner, extending shadow outward with a triangular shape. Blend upward and outward instead of into a crease that does not exist.
Liner tip: L'Oréal Paris recommends using eyeliner rather than eyeshadow for precision — draw a half-moon shape above the eye with waterproof pencil, fill the lid, then quickly blend edges with a fluffy brush before the formula dries.
Pro move: Never skip primer on monolids. Without a second lid to catch product, shadow moves more on monolids than any other shape.
The challenge: Eyes are set further back in the skull, so dark colors in the crease make them recede even more.
The fix: Stick with matte shades — shimmer in the crease makes eyes look deeper set. Apply brown shadow to the lid only, then use a lighter shade to blend edges outward. Focus color on the lid itself, not the crease area.
Liner tip: Create a wing to lengthen and lift. Keep liner thinner than you would on other eye shapes — heavy liner competes with the natural depth.
Pro move: Use lighter colors than your instinct tells you. What looks light on the brush reads darker when placed in a recessed area.
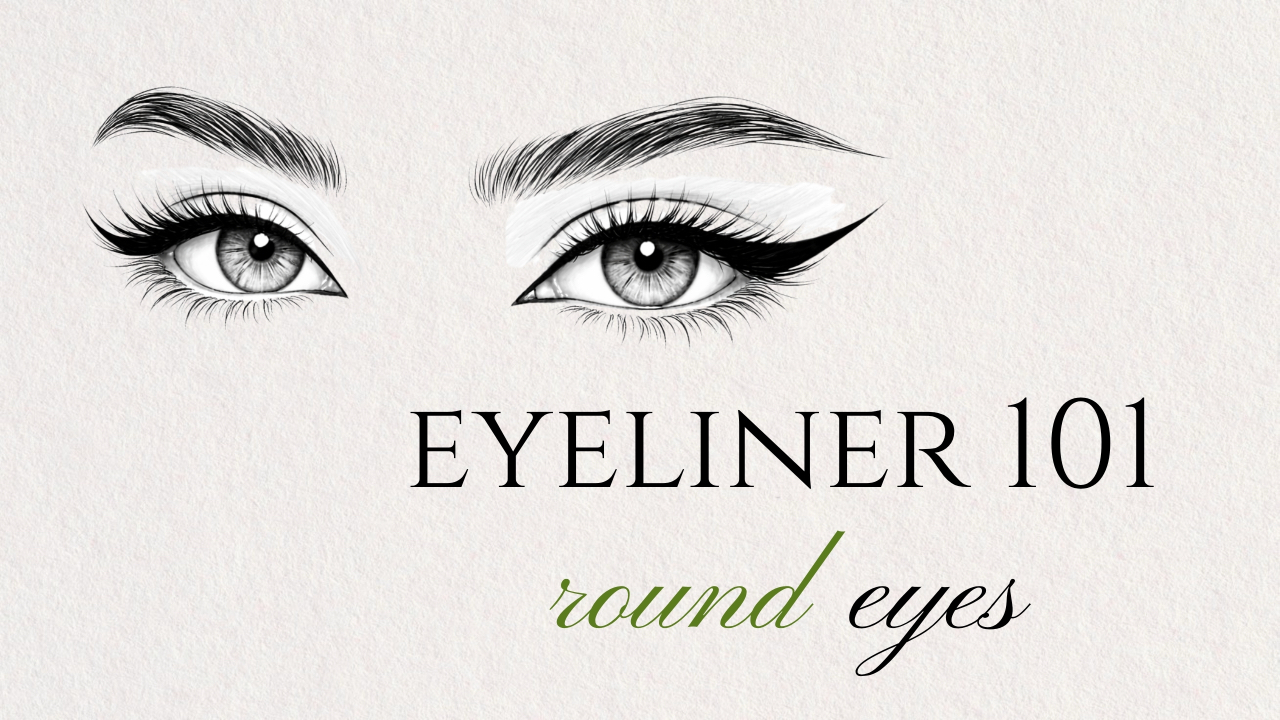
The challenge: Round eyes can look wider instead of more dramatic with smokey shadow if the gradient is too symmetrical.
The fix: Apply shimmer to the lid but blend just up to the crease — not past it. Extend the smokey effect outward to create a more almond shape. Concentrate dark color on the outer corner, angling toward the temple.
Liner tip: Trace liner along the upper lash line, extending outward at the corner, angling toward the temple rather than flicking upward. Cut false lashes in half and apply only to outer corners.
Pro move: Think horizontal, not circular. Every stroke should pull the eye outward to complement its natural roundness.
Watch how these creators adapt the smokey eye for hooded eyes specifically:
Best Smokey Eye Colors for Your Eye Color
Color theory is not just for painters. The shades opposite your eye color on the color wheel create the highest contrast and make your eyes appear more vivid. Here is what actually works — and what to avoid.
Blue Eyes → Warm Tones
Copper, bronze, warm browns, rust, and peach. These sit opposite blue on the color wheel, creating maximum contrast. Avoid blue eyeshadow — it cancels out your eye color instead of enhancing it.
Green Eyes → Purple Tones
Plum, violet, maroon, warm taupe, and rose. Purple makes green eyes look more emerald. Charlotte Tilbury specifically recommends purple smokey eyes for green eyes.
Brown Eyes → Jewel Tones
Emerald, cobalt blue, vibrant purple, magenta, and pink. Brown eyes can wear virtually anything, but jewel tones create the most striking effect. Blue is directly opposite brown on the color wheel.
For hazel eyes, gold and green hues bring out the warm tones, while eggplant and plum emphasize the green. Rose gold makes the brown in hazel eyes appear more honeyed.
Brown Smokey Eye vs. Black Smokey Eye: When to Use Each
The biggest decision in any smokey eye is not technique — it is color depth. Brown and black create completely different moods, and choosing wrong for the occasion is the most common mistake people make.
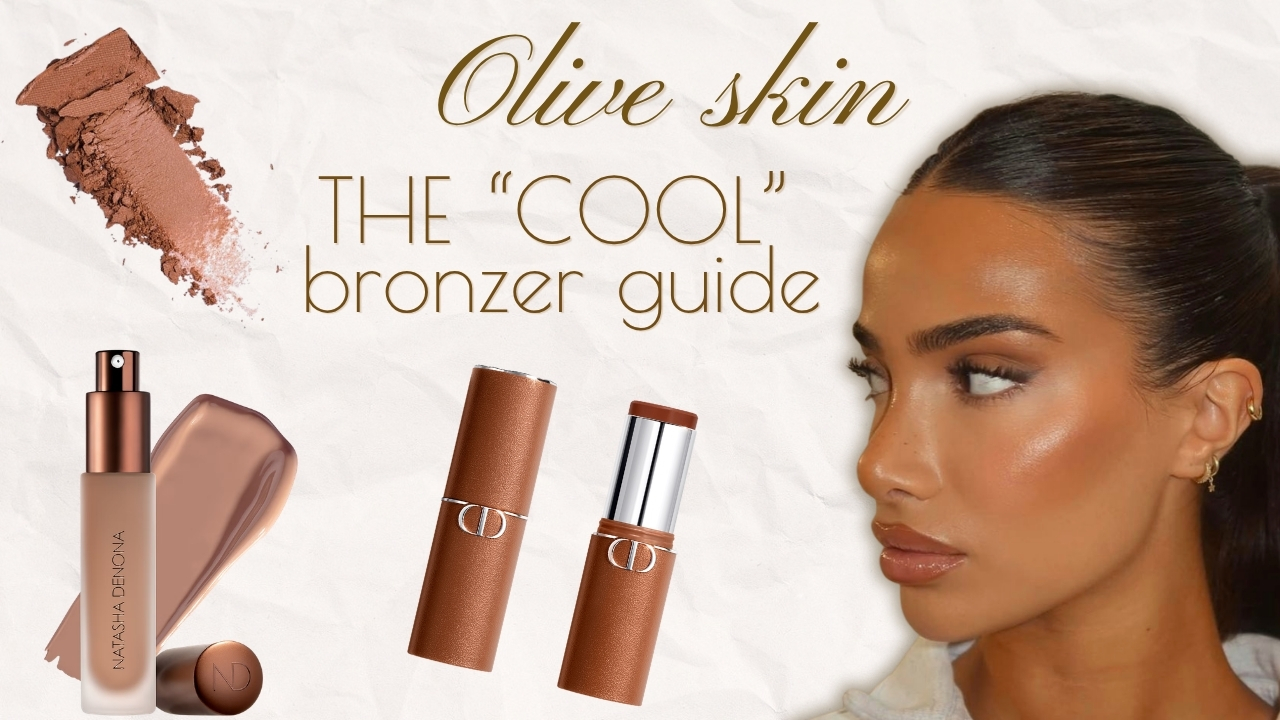
Brown smokey is the more modern choice for 2026. It reads softer, more sophisticated, and works in daylight without looking costume-y. Use warm browns (chocolate, espresso, caramel) for warm skin tones and cool browns (taupe, mushroom, slate brown) for cool tones. Brown smokey eyes pair beautifully with nude lips and are the foundation of the "latte makeup" trend dominating social media right now.
Black smokey is the dramatic, red-carpet choice. It demands confidence and works best under evening lighting. The key to keeping a black smokey eye from looking harsh is blending — you need a visible gradient from black at the lash line through charcoal to soft gray at the crease. If you skip the mid-tone and jump straight from bare skin to black, it reads as costume makeup rather than glamour.
See both approaches side by side — these tutorials break down the difference:
Trending Smokey Eye Looks for 2026
The smokey eye is not static — it evolves every season. Here are the variations dominating right now, straight from the runways and the red carpet.
The dominant eye trend for 2026. Uses charcoal, plum-black, espresso, and oxblood tones with blurred, lived-in edges instead of sharp lines. Apply a kohl pencil as a base, smudge with a dense brush, then layer shadow on top. Think Jenna Ortega — moody but polished.
Inspired by the warm tones of a freshly made latte. Creamy browns, warm neutrals, bronzy cheeks, and a nude lip. Minimal complexion coverage with a glowing, effortless finish. This is the smokey eye for people who say they do not wear smokey eyes.
Bold sapphire, emerald, and amethyst are reimagining the classic smokey. The technique is identical to a black smokey eye — just swap black for your chosen jewel tone. Use a warm transition shade in the crease to neutralize the color and keep it from looking costume-y.
Smudged liner that looks worn in rather than drawn. Best achieved with an eyeshadow stick or smokey shadow crayon and gel eyeliner. Direct connection to the 90s nostalgia resurgence. Doechii's gray smoky eye at the 2025 Grammys spearheaded this revival.
Watch the colorful and trending smokey eye variations in action:
7 Common Smokey Eye Mistakes (and How to Fix Them)
These are the seven most common smokey eye problems — and how to fix each one.
"More blending always makes a smokey eye look better."
Tap to revealOver-blending is the number one mistake. It turns carefully placed colors into a muddy, undefined mess. Blend just enough to soften edges — then stop. If you cannot see distinct zones of light, medium, and dark, you have gone too far.
"You should do your eye makeup before your foundation."
Tap to revealDark eyeshadow fallout under the eyes is inevitable with a smokey eye. Doing eyes first means you can wipe away fallout before applying foundation underneath — instead of ruining a perfect base.
"Smokey eyes only work as an evening look."
Tap to revealSmokey refers to a technique, not a color or intensity. Swap black for taupe, soft brown, or mauve. Use matte finishes. Skip the lower liner. A soft brown gradient is completely office-appropriate and still reads as a smokey eye.
"Smokey eyes make small eyes look even smaller."
Tap to revealA properly executed smokey eye can actually make small eyes look bigger. The key: use dark browns instead of black, keep darker shades on the outer half only, add shimmer to inner corners and brow bone, and use a light pencil on the waterline to open up the eye.
Three more critical mistakes to avoid: skipping primer (your look will crease and fade within hours), using the wrong brush size (too small makes blending impossible, too large removes control), and pressing too hard when blending (let the brush do the work with light, feathery strokes).
Smokey Eye for Mature Skin
Mature skin deserves its own section because the technique shifts are specific and important. Cream formulas are your best friend here — they blend more easily on skin that has lost some elasticity and they do not settle into fine lines the way powders can.
Use medium tones rather than very dark shades. Focus color in and slightly above the crease to create a lifting effect. Skip heavy liner on the lower lash line, which can drag the eye down. Apply shimmer sparingly — a touch on the center lid is flattering, but shimmer in the crease or under the brow bone can emphasize texture.
This tutorial is made specifically for mature eyes:
Test Your Smokey Eye IQ
Test Your Smokey Eye IQ
5 questions. How well do you really know this stuff?
Frequently Asked Questions About Smokey Eyes
A dark shade for the outer corner and lash line, a medium shade for the lid and crease, and a light shade for highlighting the brow bone and inner corner. The classic combination is black, gray, and champagne — but the same structure works in brown, plum, navy, or any color family.
Yes. Concentrate a single dark shade at the lash line and blend upward for a natural gradient. Cream shadows and kohl pencils work best for this technique because you can build and blend with your fingers. Pat McGrath and other top MUAs demonstrate this approach in under three minutes.
Apply shadow with your eyes open so you can see where color is visible. Create a faux crease above the natural fold, blend upward and outward, and use medium browns instead of black. Tightline rather than drawing thick liner on the lid — it will disappear into the fold or transfer to the brow bone.
Three likely causes: over-blending (you have diffused the colors into each other until they are one indistinct shade), applying too much product at once (build in thin layers instead), or using a dirty brush (use a clean blending brush for each color transition). Primer also helps — without it, colors slide and mix on the lid.
Absolutely. Swap black for taupe, soft brown, or mauve. Use matte finishes instead of shimmer. Skip liner on the lower lash line. A soft neutral gradient is completely office-appropriate and still reads as a smokey eye — the technique is the same, only the intensity changes.
The dominant eye trend for 2026 — a refined evolution of grunge glam using charcoal, plum-black, espresso, and oxblood tones with blurred, lived-in edges. Instead of precise, structured lines, the soft goth smokey eye is intentionally imperfect and moody. Think Jenna Ortega: smoked-out eyes, cool-pink lips, effortless edge.
The Bottom Line: Your Smokey Eye, Your Rules
The smokey eye is a gradient — dark at the lash line, lighter as it moves up. That is the only rule. Everything else — color, intensity, shape, products — is a choice you make based on your eye shape, your eye color, the occasion, and your mood. Start with the one-shadow technique if you are new. Graduate to the full nine-step classic when you are ready. Branch into jewel tones and soft goth when you want to experiment.
The look that launched in ancient Egypt, defined the 1920s silver screen, powered 1990s grunge, and is dominating 2026 runways is not going anywhere. Once you learn the gradient, every smokey eye variation is just a remix.
Your lash line is the darkest point. Everything else blends up and out. Now go smoke it out.