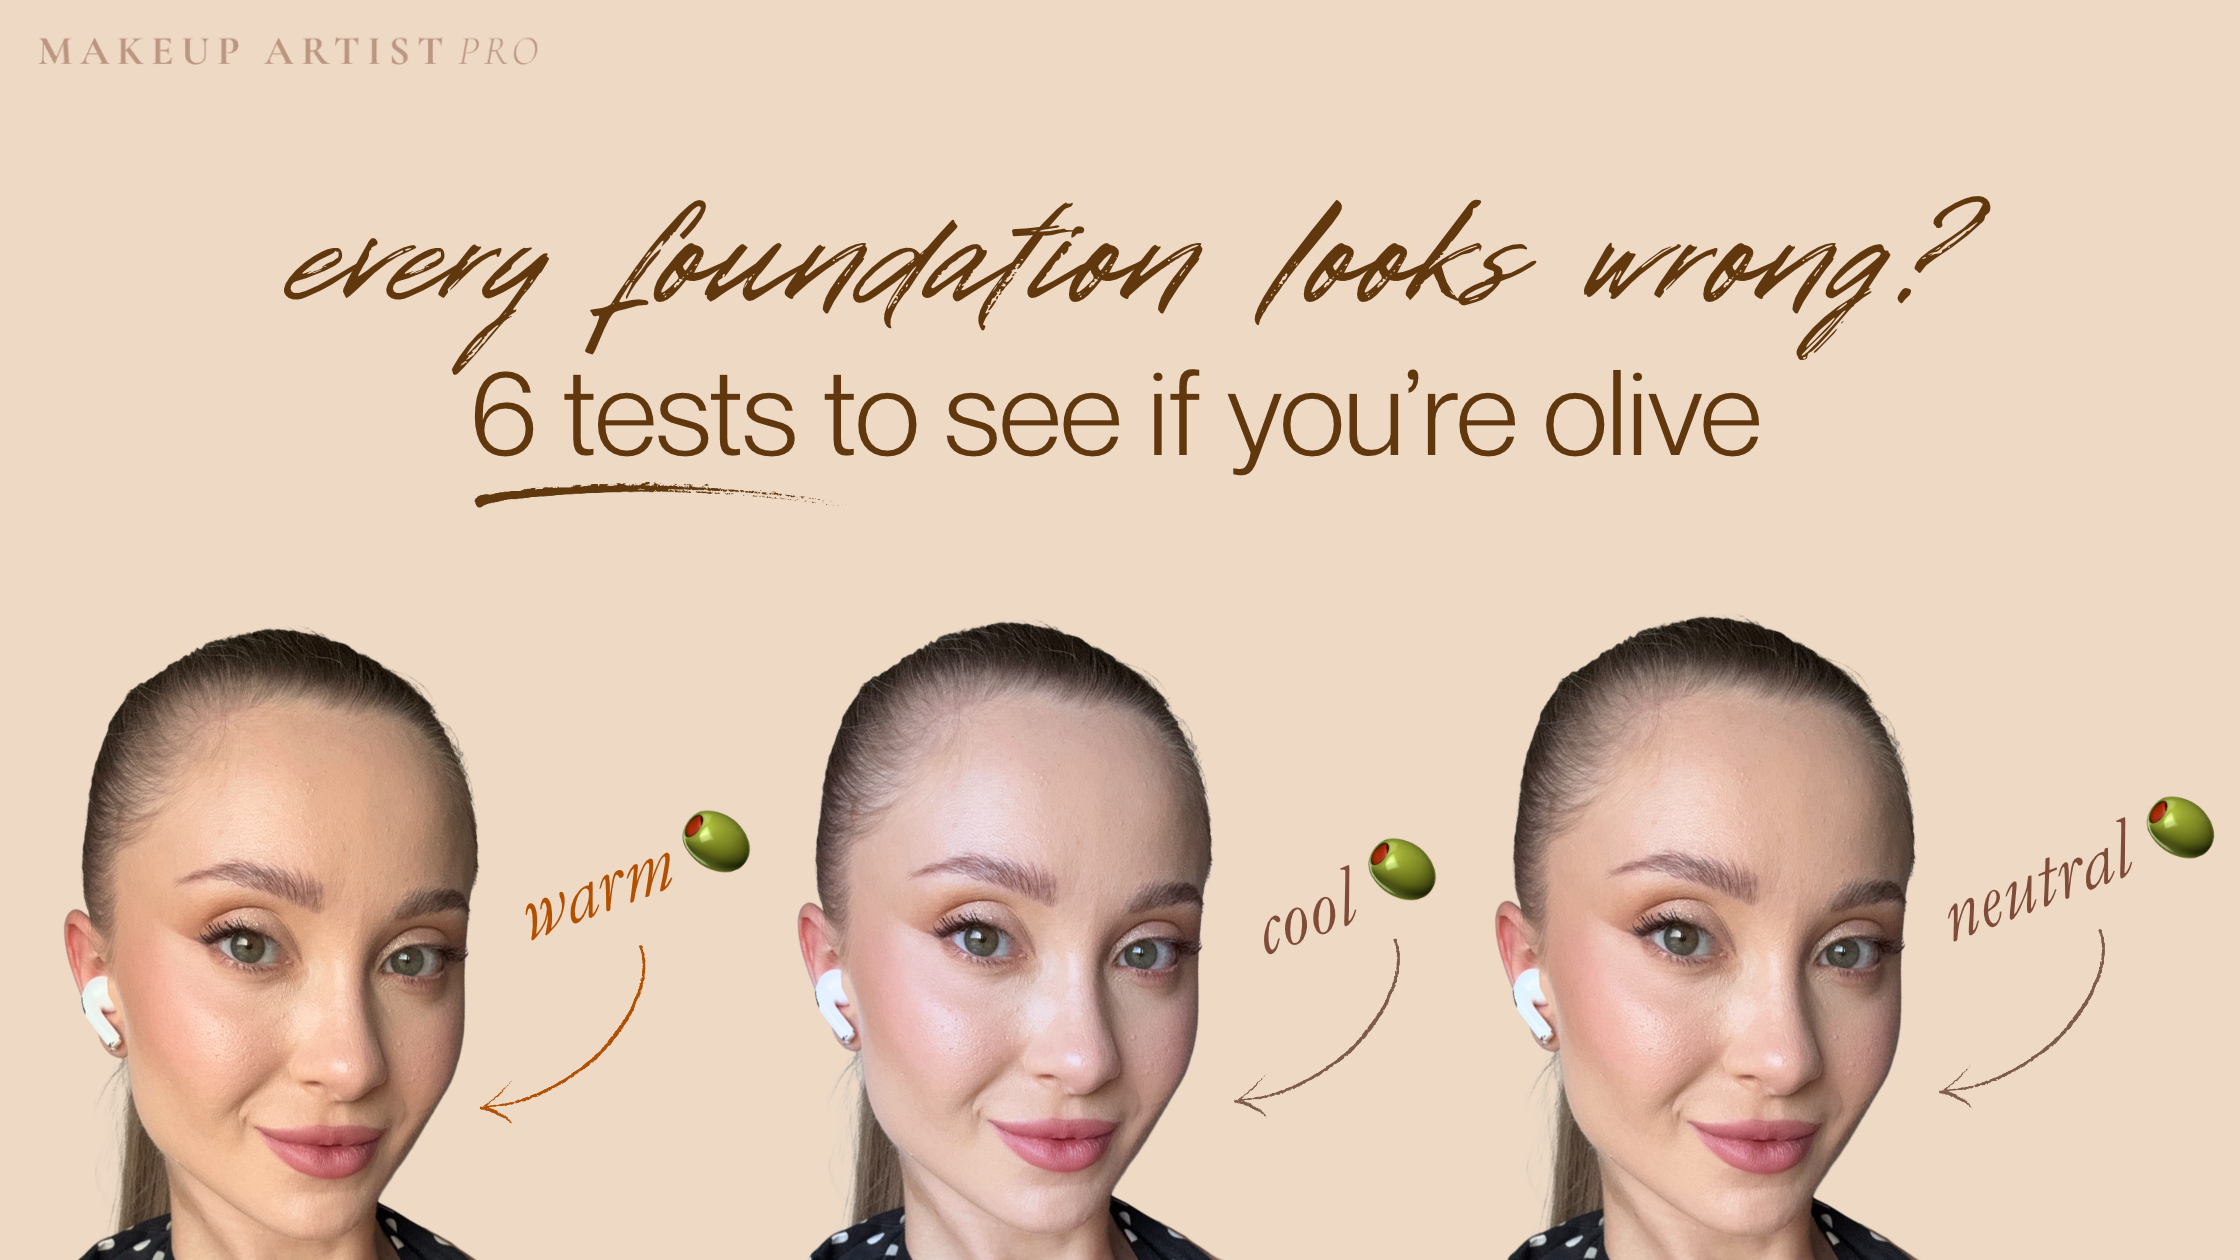
Warm shades pull too orange. Cool shades pull too pink. Neutral shades can still look too bright. If you keep trying shade after shade and none of them quite settle into your skin, your answer might be olive.
The six things we’ll check in this article should help you see whether olive undertones could explain why your foundation shades don’t work, and what to look for before you buy another shade that isn’t right for you.
What Makes Olive Undertone Different from Warm, Cool, and Neutral
In makeup, “olive” describes a green, grey, or muted cast that can make standard shade labels feel unhelpful.
Olive can be tricky to shop for because brands don’t use shade names in the same way. Some call a shade “olive.” Others describe a similar colour as golden, beige, or neutral, or don’t give you much to go on at all. The label can help you choose what to swatch, but the swatch still has to work on your skin.
Warm Olive vs Cool Olive vs Neutral Olive
Here’s where it gets interesting (if it wasn’t already): an olive undertone can still lean warmer, cooler, or more neutral. That’s why an olive-friendly shade might be yellow-olive, neutral-olive, or cooler olive. I know, it’s a mouthful.
How to Explore an Olive Undertone
The usual vein test can be inconsistent, especially across different light and skin depths. I had heard most of these six checks before, and only a couple actually helped me personally. Use them to notice a pattern, then test foundation shades on the jawline. No at-home test can confirm an undertone by itself.
🎨 The Foundation Fail Test 10
If warm shades look orange, cool shades look pink, and even neutral shades look too orange or too bright, compare a muted olive or neutral-olive option beside them. This pattern can be a useful clue, but depth, oxidation, and surface redness can create a similar mismatch.
👕 The White T-Shirt Test 1
Stand in indirect daylight with a plain white or soft grey fabric near the face. A green, grey, or muted cast may become easier to notice. Do this as one clue, because the fabric, wall colour, and camera can all change what you see.
The environment, lighting, and the way you perceive them can vary drastically from one person to another. So it’s a pass for me.
🤚 The Inner Wrist Check 6
Look at the inside of the wrist and the neck in indirect daylight. A muted green, yellow-green, or grey-green cast can support the idea of an olive lean, but use a jaw swatch to make the actual shade decision.
In my opinion, it is not conclusive enough to make a foundation-match choice. Veins can appear different in different lighting.
🌈 The Color Amplification Test 9
Compare a saturated shade with a softer, muted version in the same family. If the muted shade blends in more easily, that may support an olive or low-contrast preference. It is a style clue, not proof.
Surprisingly, quite a game changer, and it reveals a lot, especially if you’re olive like me. Once you truly see that muted colors work better on you, you not only realize that you might need to move to an olive-leaning foundation, but you also get a guideline for the makeup and clothing colors that will flatter you most. See our foundation, blush, lipstick, bronzer, and undertone guides for more.
💍 The Jewelry Test (Modified) 3
Gold, silver, and rose gold can help you notice whether the skin reads warmer, cooler, or balanced. Use this only as a styling clue. Jewellery alone does not identify an olive undertone.
To be honest, I know some people who did the test and still wear the other metal because they prefer it. But foundation is not about preference.
💅 The Nail Bed Test 1
Compare the nail bed and surrounding skin in daylight. This can help you notice whether the overall colouring looks rosy, golden, or muted, but circulation and lighting make it a weak test on its own.
You can try it, but if you find yourself thinking, “I have no idea what I’m looking at or looking for,” don’t worry. You’re not alone...
If the tests above consistently point in the same undertone direction, use that result to narrow your shade choices. Swatch three or four of the most likely shades across your jaw, let them settle, and choose the one that fades into your neck rather than pulling obviously orange, pink, or grey. If the depth looks close but the colour looks peach, yellow, pink, or grey, change the undertone direction before you go lighter or darker.
Match Foundation to Your Whole Face
Your face can look more neutral than your neck or chest. Your forehead or the outside of your face can be deeper than the centre. Redness, tanning, pigmentation, or natural variation can affect this, so try to compare all of those areas before choosing your foundation.
Do not automatically choose the darker foundation. It can make the rest of the face look dull. Choose the shade that brings the whole face closest to the neck and chest instead.
If you are still between two shades, choose the one that works at the jaw and neck first. You can use bronzer and concealer afterwards to add warmth, brightness, or coverage wherever you want it.
See the full-face check in action
Use a Simple Swatch Routine
If the product description claims “a perfect fair neutral olive” - stop! Don't buy - swatch. A nice product description is not a guarantee of a shade match. It can definitely be a useful starting point, but it's never a promise it will be perfect for you.
To make your life easier, here are some foundation picks shared by fellow olive girls.
Olive-approved shade range 🫒
Another olive girl's match can point you in a useful direction, but it cannot replace testing it on your own face.
The current Sephora shade menu includes warm-olive, neutral-olive, and olive options across several depths. Check the finish as well as the undertone: it is a soft-matte, medium-to-full coverage base.
A medium-coverage, natural-finish option if you want to compare the undertone result in a less matte base. Treat its shade finder as a starting point and wear-test the selected shade in daylight.
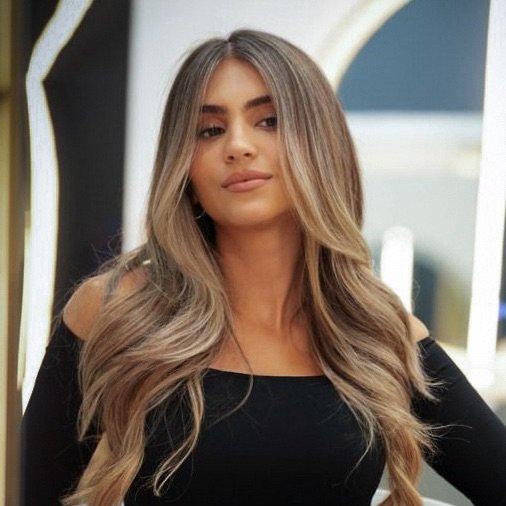 Melis'pick
Melis names shade 11 Golden as nearly identical to her light-medium olive skin. It is a luminous, buildable option if that finish suits you. Still swatch nearby shades rather than buying 11 blind.
Melis'pickShade: 2Y20. One of Melis' light-medium olive matches.
Melis'pickShade: 7. A hydrating tint Melis includes for a light-medium olive match.
Melis'pickShade: Light-Medium. A serum-style SPF base in Melis' swatch list.
Melis'pickShade: 4. A light-medium olive option in Melis' list.
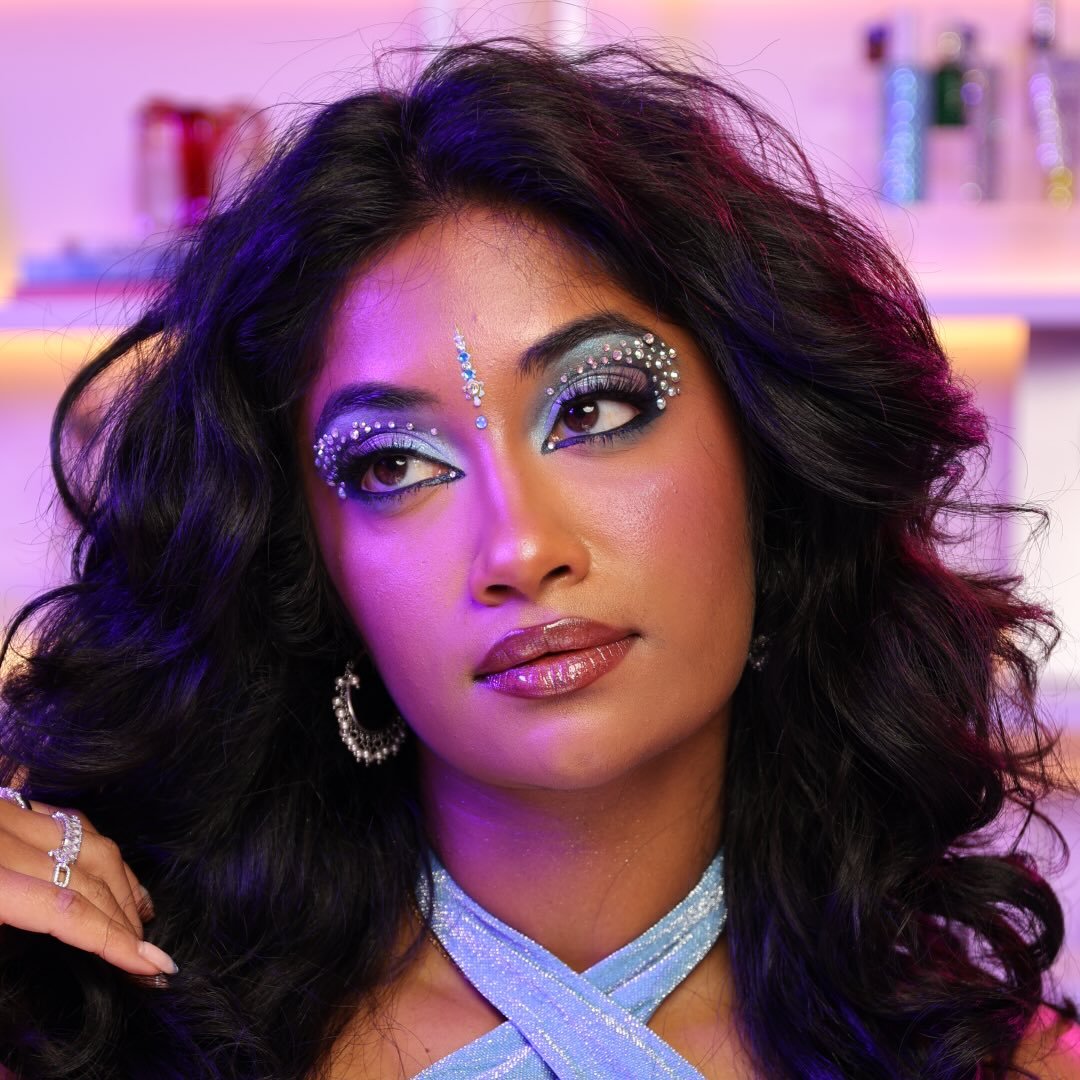 Monica'spick
Shade: 410N. Monica recommends this one for oily skin.
Monica'spickFor oily skin. Monica includes it in her oily-skin foundation options.
Monica'spickFor dry skin. One of Monica's accessible base options to compare.
Monica'spickFor dry skin. Monica lists this as a more hydrating-feeling option.
 Haley'spick
Shades: 80O or 130O. One of Haley's own foundation favourites.
Haley'spickShade: 5.3. One of Haley's own foundation favourites.
Haley'spickShade: 1CR. Haley used it on a light cool olive model, so use it only as a starting swatch.
Haley'spickShade: 120. Haley used this on a light-medium neutral olive model.
Haley'spickShade: 260. Haley used this on a medium olive model.
Use the tests to choose a small group of finalists, then make the final call on your jaw. Tap through the routine in order.
Choose three or four shades: a likely olive or neutral-olive option, the brand's closest neutral, and one that leans a little warmer or cooler.
Apply each shade in a vertical stripe from the jaw towards the neck. A hand swatch can show texture, but it cannot show whether the shade works beside your face.
Check the shades in indirect daylight, not under a very warm bathroom bulb or an aggressive shop spotlight. For the full method, read our guide to testing foundation shades.
Take a quick photograph in indirect daylight if it helps you compare. A black-and-white copy can make depth differences easier to spot.
The shade that almost disappears is your strongest candidate. Keep the shade you seem to like the most for another few minutes and look at it from different angles. The right match can look almost boring beside a slightly wrong one, and that is exactly the point.
Write down the shade name and undertone once you find it. Future shopping trips become much easier when you have a reliable starting point.
Once you have your foundation sorted, put the blush or lipstick on your face in daylight, not just on your hand or a palette swatch. If soft, dusty colours make your skin look fresher, choose those. If you prefer a brighter lip or eye, wear it. That preference has nothing to do with your foundation undertone. For shade ideas, start with our blush guide for olive skin and lipstick guide for olive skin.
Frequently Asked Questions About Olive Undertones
Yes. “Olive” is used in makeup to describe a green, grey, or muted cast and can appear at many skin depths. Swatch on your own jawline rather than choosing a shade based on someone else’s depth or background.
Yes. Olive undertones can appear at any skin depth. On deep or rich brown skin, the olive quality may look muted, grey-green, or less red rather than obviously green. Compare close foundation shades along the jaw and neck, then notice which one looks least orange, pink, or too bright after it settles.
Lighting, surface redness, tanning, and pigmentation can make any undertone less obvious at first glance. Instead of trying to spot “green skin” in the mirror, compare close foundation shades in daylight. The most useful clue is the shade that blends into the face, neck, and chest without pulling orange, pink, or overly bright.
It may be too warm, too saturated, too deep, or simply a formula that oxidises on your skin. Compare it with a muted olive or neutral-olive option and let both settle before deciding.
It can be a small clue, but it is not reliable on its own. Lighting, skin depth, and visible surface colour all affect what veins look like.
Apply three or four nearby shades in vertical stripes along the jaw and extend them slightly toward the neck. Check them in indirect daylight after the formula has settled and choose the least visible match.
Keep Reading
- Foundation for Olive Skin: The complete guide to finding, matching, and applying foundation for every olive subtype
- Best Blush for Olive Skin: Muted shades that actually work instead of looking neon
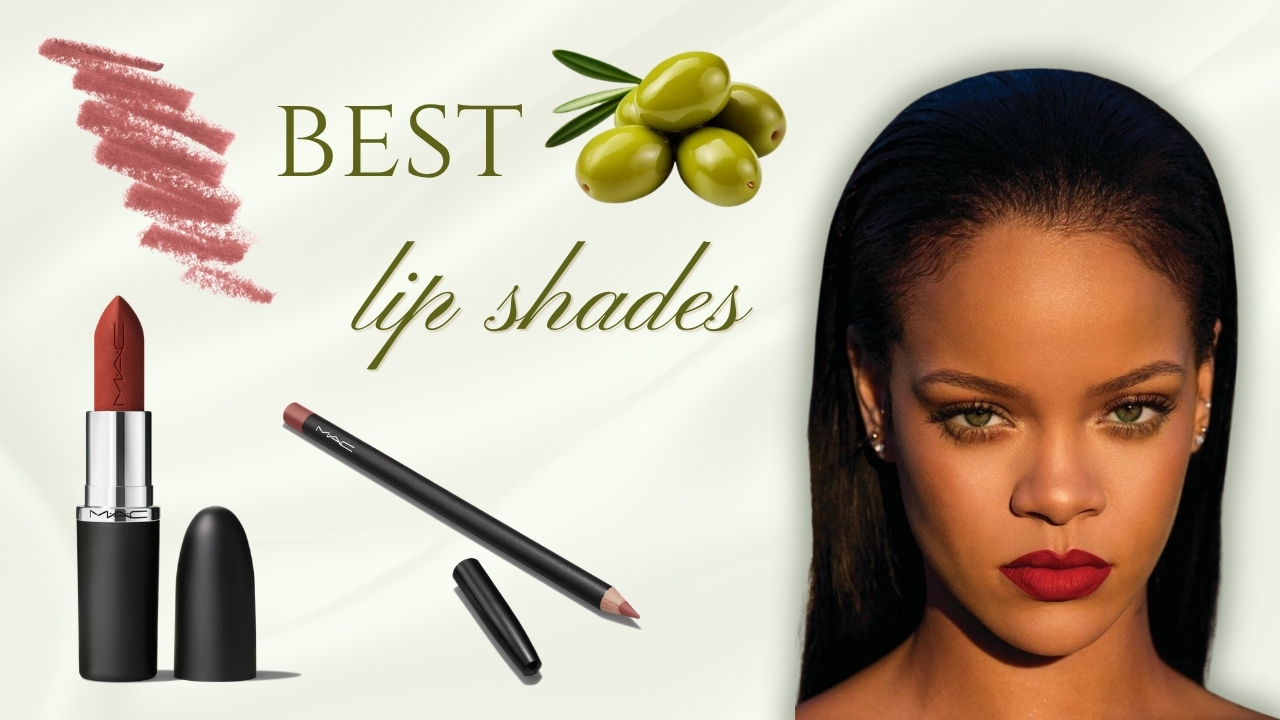
- Best Lipstick for Olive Skin: Everyday nudes, bold colors, and everything in between
- Best Bronzer for Olive Skin: How to add warmth without going orange
- How to Find Your Skin Undertone: The general undertone guide covering warm, cool, neutral, and olive
A shade name gets you to the shelf. A jawline swatch tells you whether it belongs on your face.

I promise, you never know how wrong you are about your skin undertone and depth until you come across the wrong foundation or concealer. Try a bunch and work out what is right or wrong with each one. This method is a 10/10!