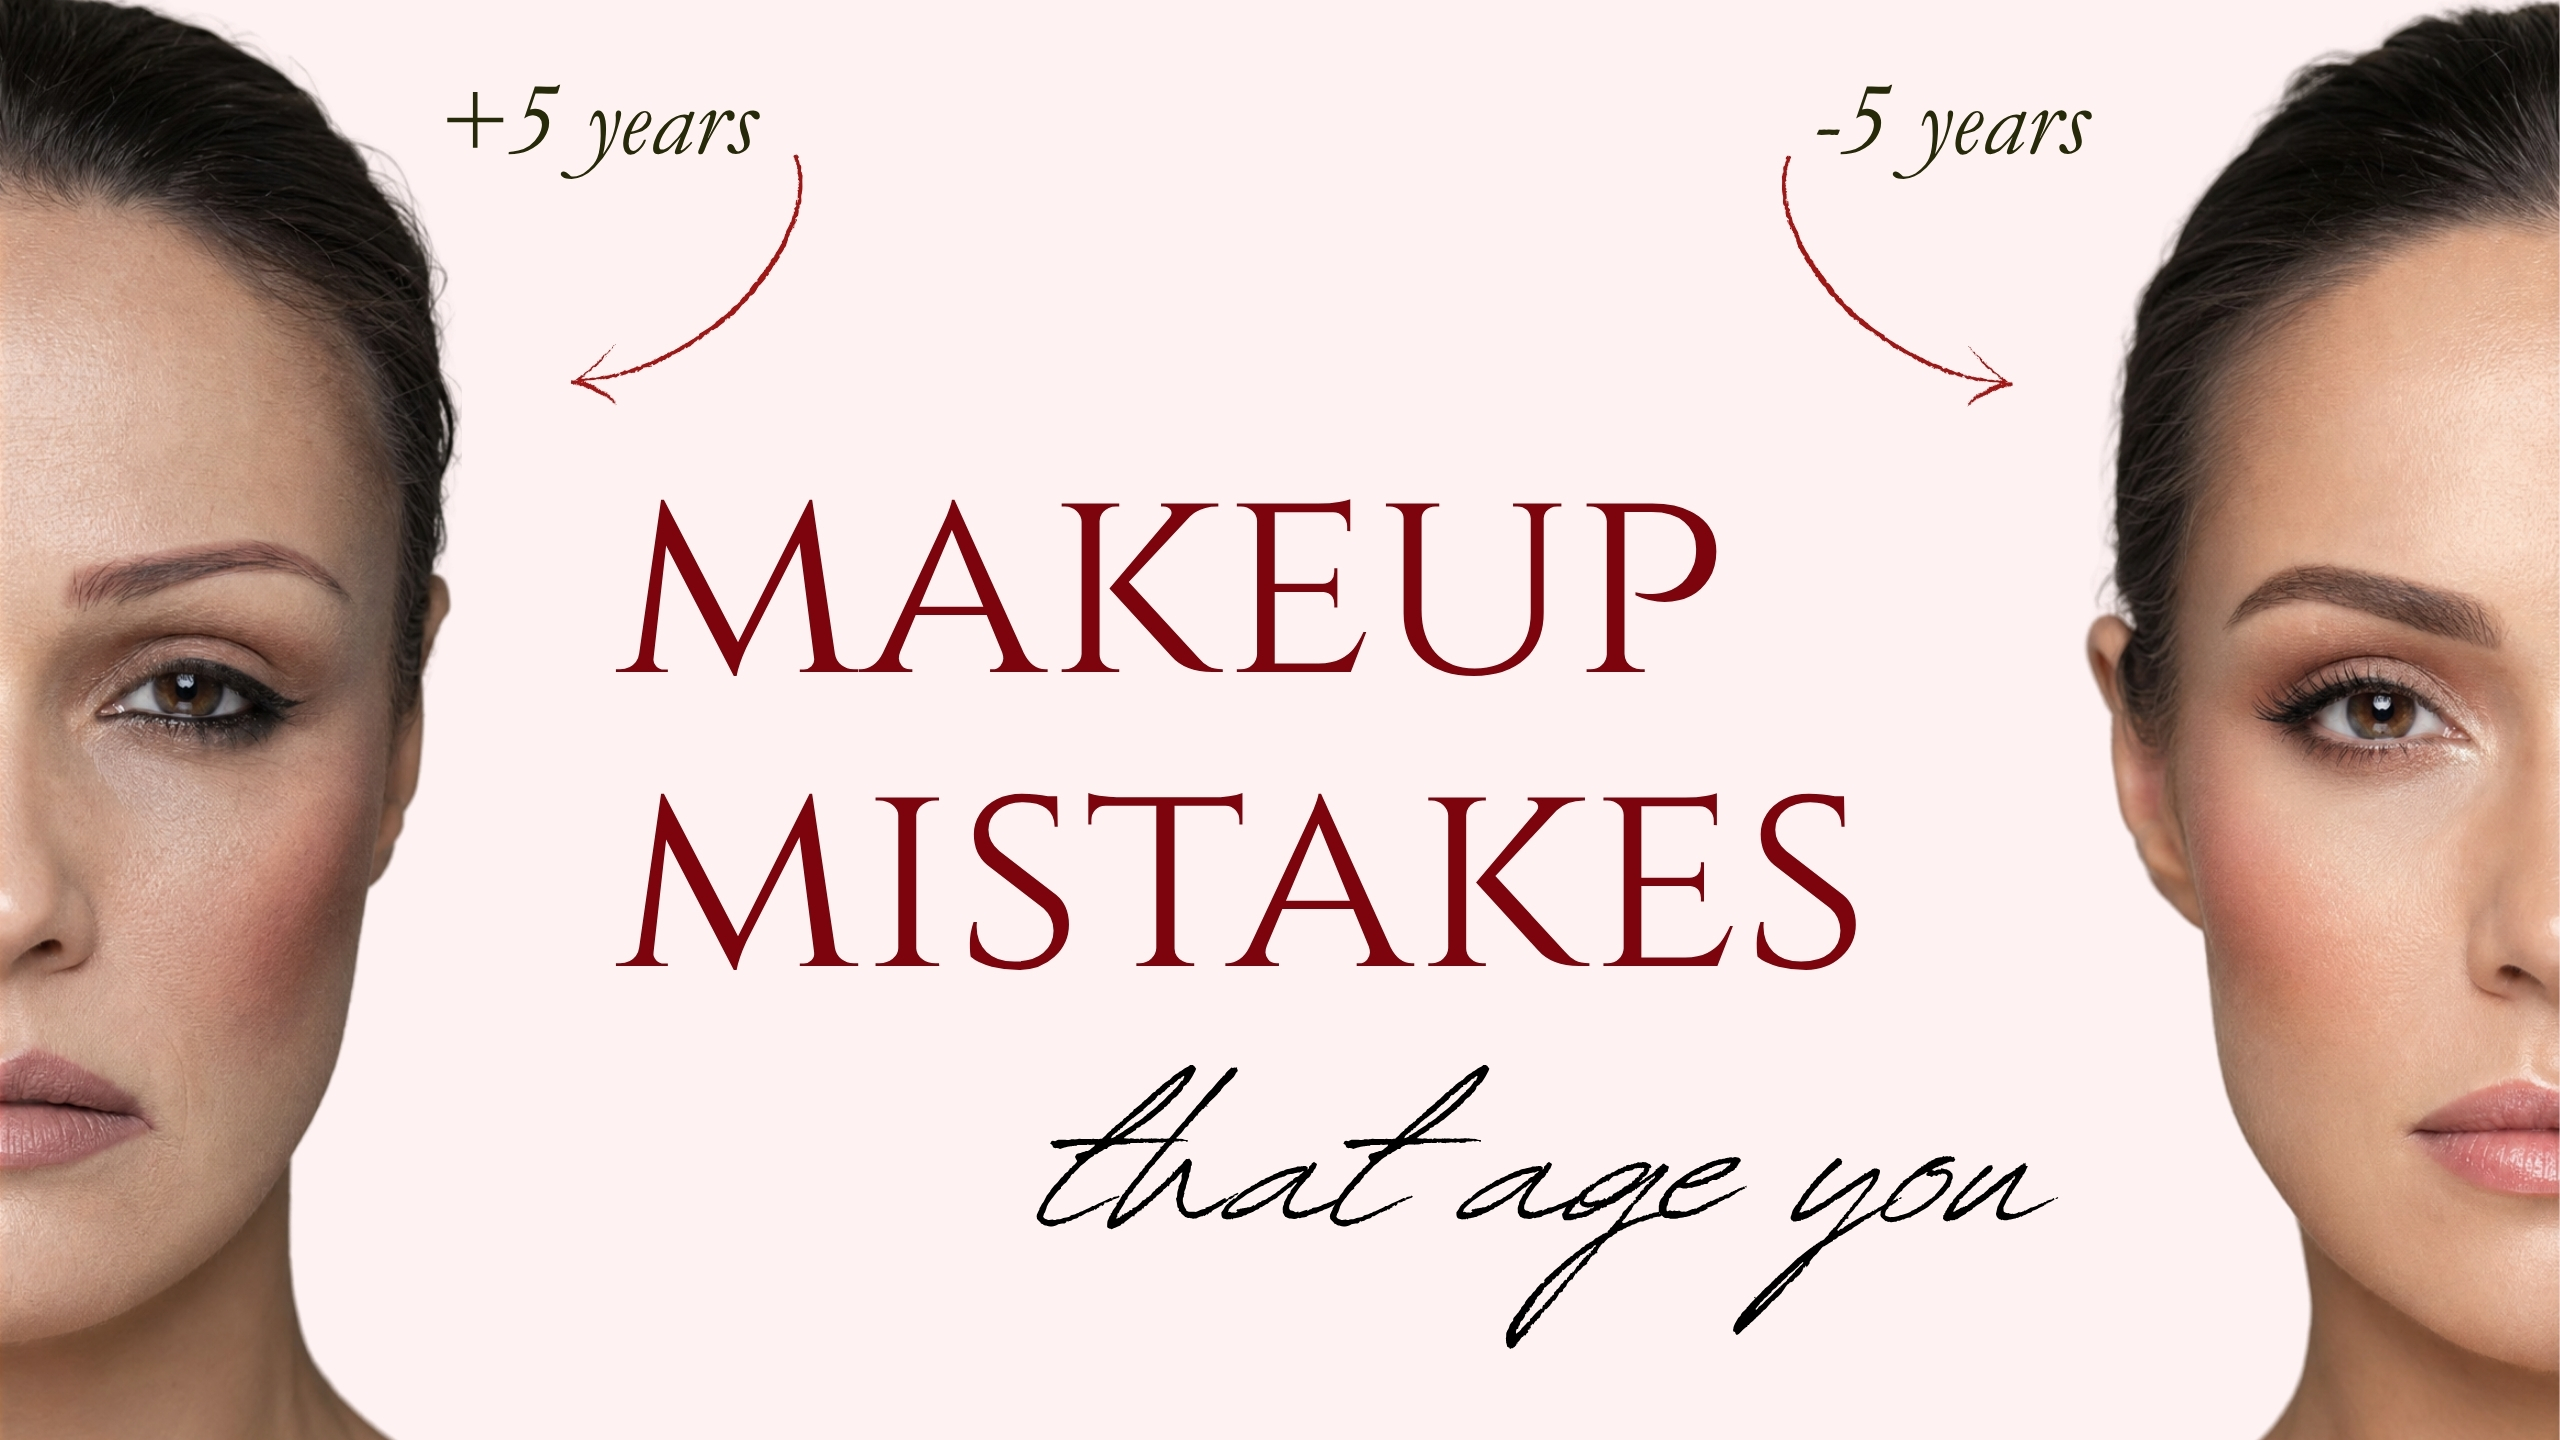
You follow every tutorial, you own great products, and your makeup still looks... off. Not bad exactly, just older than you actually are. The problem is rarely the products themselves. It is almost always a handful of sneaky application habits that quietly add years to your face. These are the most common makeup mistakes that make you look older, and every one of them has a simple professional fix.
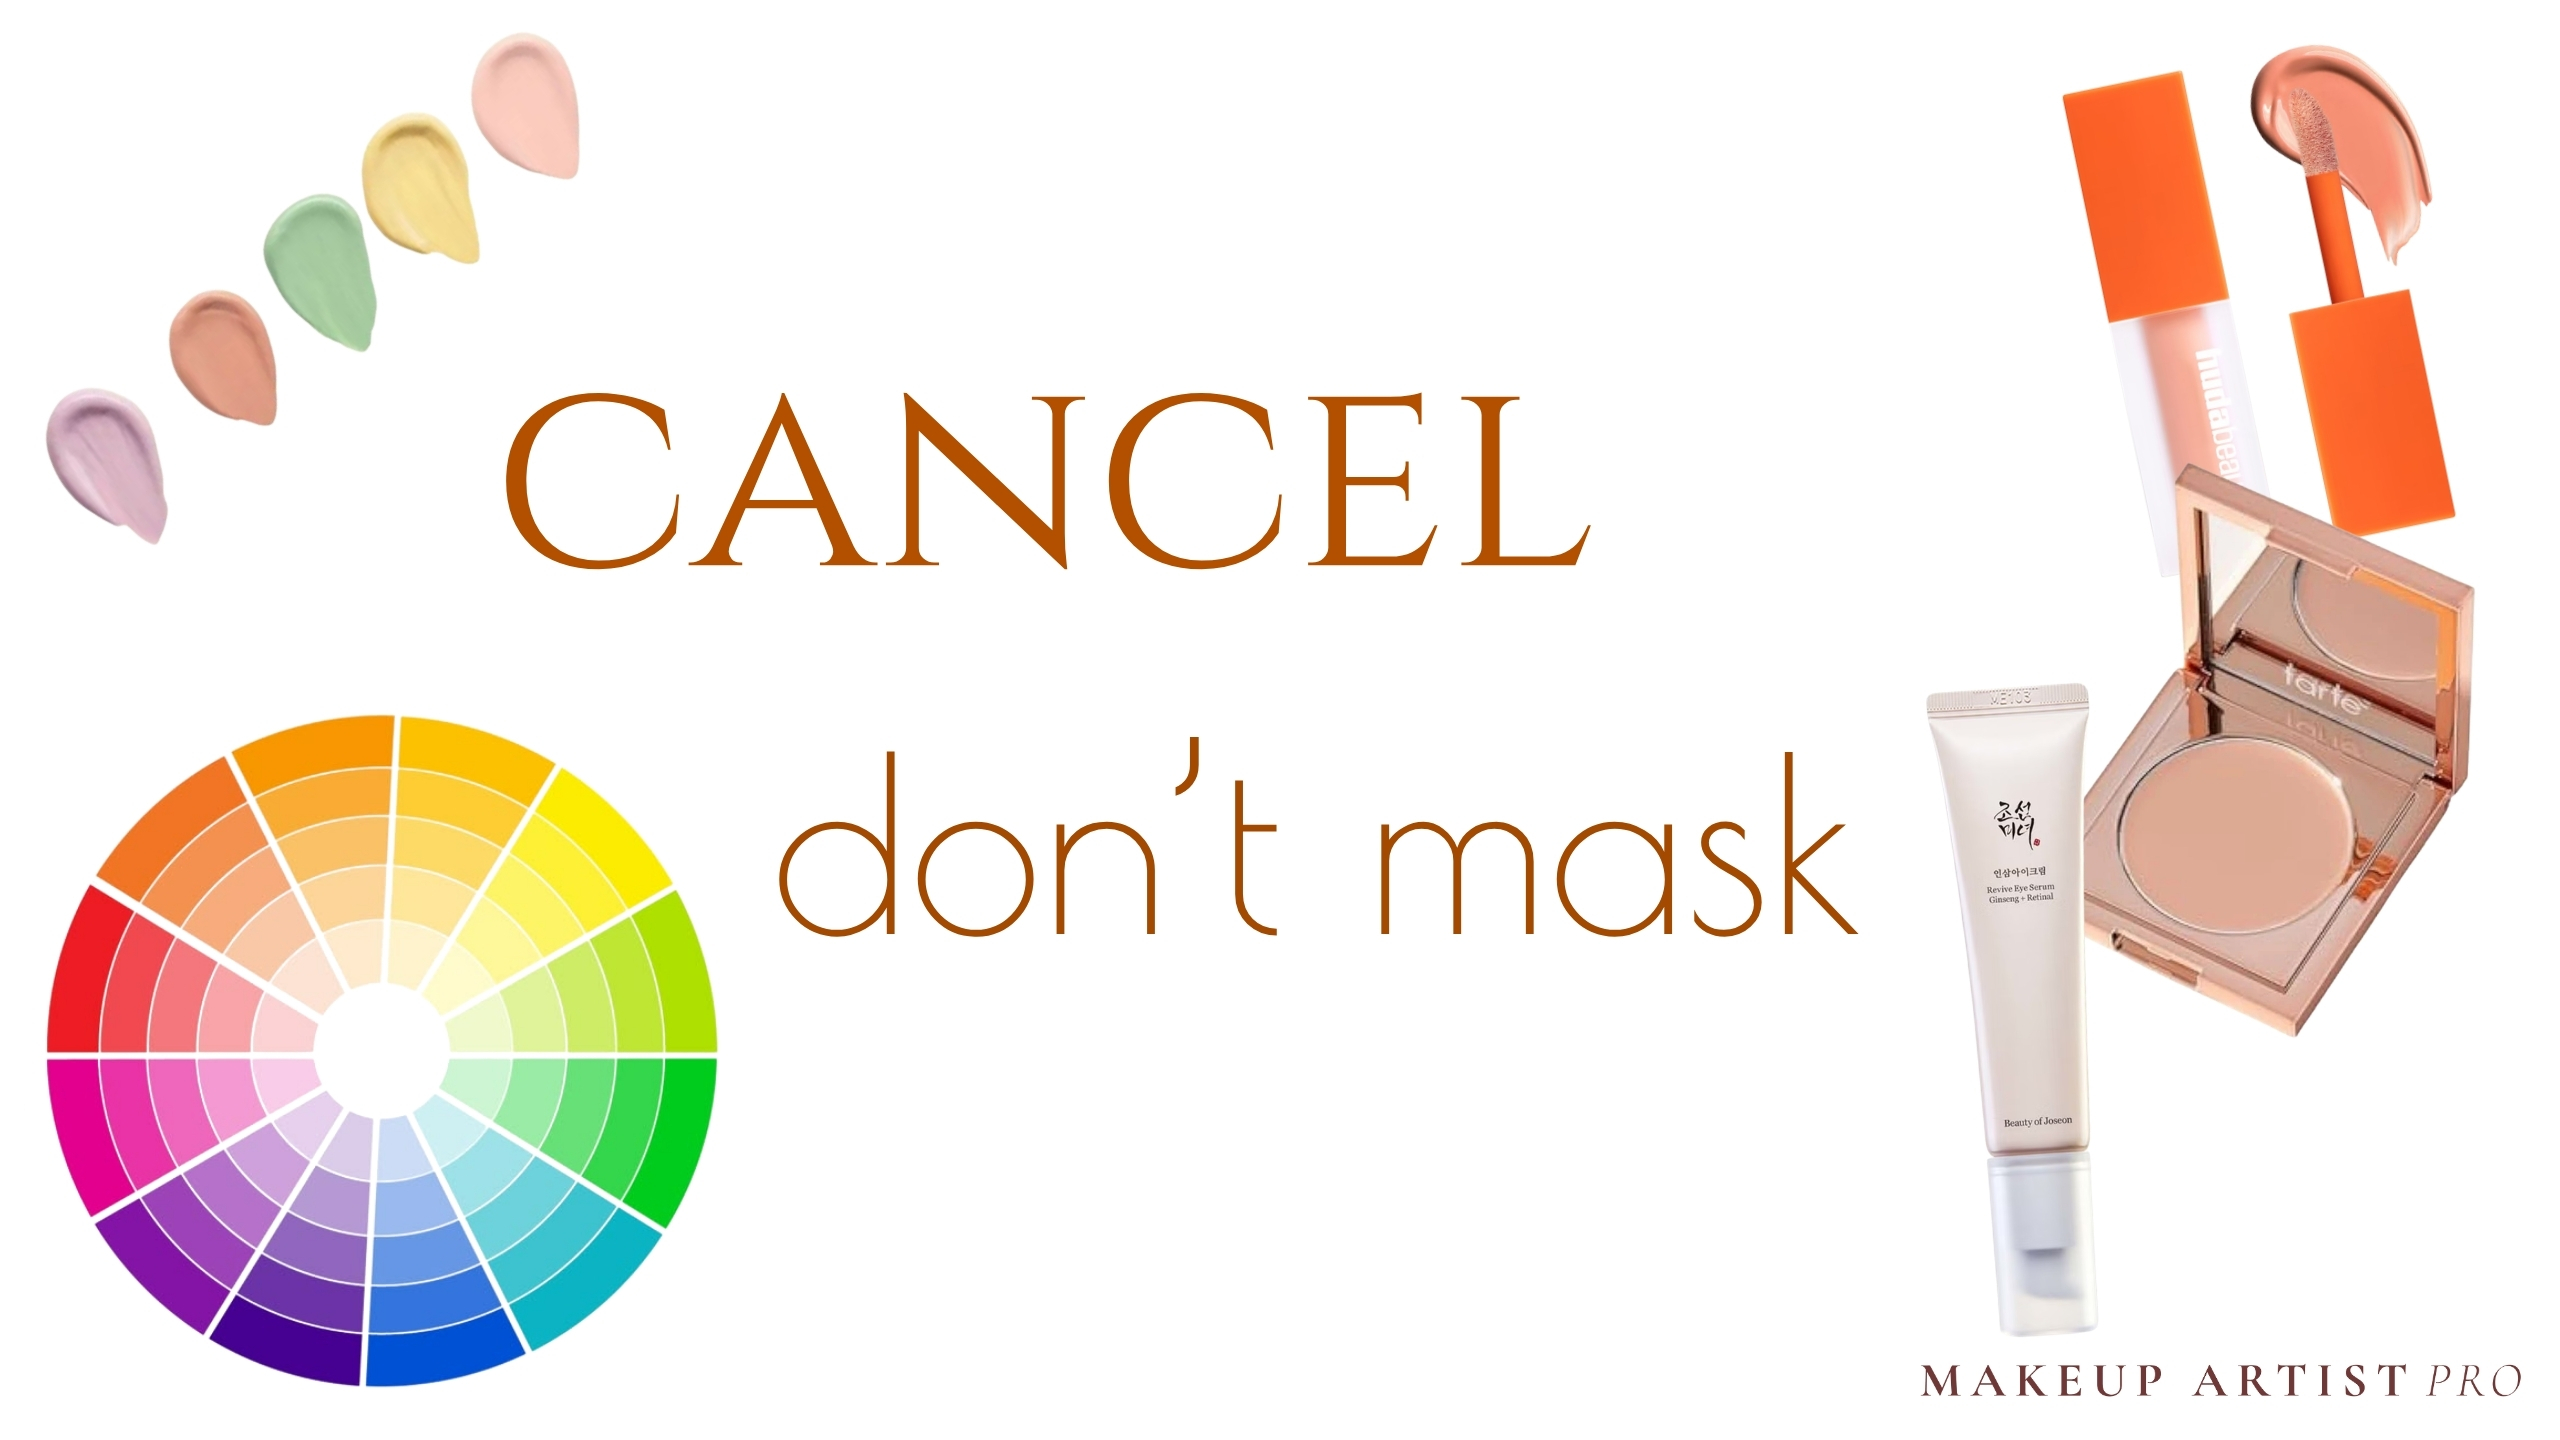
Your Skincare Prep Is Sabotaging Your Base
The single biggest mistake has nothing to do with makeup at all. It is skipping proper skincare before you even open a compact. Without exfoliation, dead skin cells create an invisible layer that prevents foundation from gripping. Without moisturizer, dry patches catch product and turn it cakey within hours.
Chemical exfoliation is the fix most people overlook. A BHA (salicylic acid) exfoliant like the Paula's Choice 2% BHA Liquid Exfoliant used two to three times per week dissolves the gunk inside pores and smooths the surface so makeup glides on instead of sitting on top. For something even easier, the First Aid Beauty Facial Radiance Pads combine glycolic and lactic acids in a single pre-soaked pad — just swipe one across your face before makeup and the AHAs dissolve dead skin in seconds. If you have textured or oily skin, adding either of these will transform how your foundation wears.
The fastest shortcut to foundation-ready skin is a hydrating milky toner. These rice- and ceramide-based formulas plump and hydrate so makeup melts in instead of sitting on top. They also double as foundation mixers — blend one into your liquid or stick foundation on the back of your hand to thin it into a sheer, breathable skin tint. The best options each solve a slightly different problem:
- Anua Rice 70 Glow Milky Toner — 70% rice water with niacinamide and ceramides. Lightweight, fragrance-free, works on all skin types. The go-to for glass skin.
- TirTir Milk Skin Rice Toner — rice bran extract with niacinamide and ceramide. Hydrates without adding shine, making it the best pick for combination or oily skin.
- Fenty Skin Fat Water Hydrating Milky Toner Essence — thicker milky texture that floods dehydrated skin with moisture. Best for normal-to-dry skin that needs serious plumping.
- Laneige Cream Skin Toner & Moisturizer — a Korean cult favorite that replaces both toner and moisturizer in one step. Ceramide and peptide formula that is especially good for time-saving morning routines.
- Innisfree Green Tea Ceramide Milk — green tea antioxidants with ceramides in a lightweight milky formula. Great for acne-prone and sensitive skin that needs hydration without heaviness.
- Rhode Glazing Milk — the ceramide-rich essence that started the milky toner trend in makeup prep. Gives an immediate luminous finish. Read the acne warning below before buying.
- Prequel Half and Half Fluid — ceramide-peptide hybrid that doubles as toner and moisturizer. Ideal for sensitive or compromised skin that needs barrier repair before makeup.
- Fresh Kombucha Facial Treatment Essence — fermented black tea essence with hyaluronic acid that penetrates deep for antioxidant protection and luminosity. A splurge pick that doubles as anti-aging treatment and makeup prep.
Pat your chosen toner onto clean skin, let it absorb for 30 seconds, then follow with a hydrating primer like the Bobbi Brown Vitamin Enriched Face Base — the primer-moisturizer hybrid whose fresh citrus-and-florals scent is genuinely to die for. Layer your daily SPF on top, and that three-step combo — milky toner, hydrating primer, sunscreen — is all you need for a base that makes foundation look like skin.
There are so many products out there to navigate, and you deserve the privilege of making an informed decision instead of blindly trusting marketing. These milky toners are not all made the same. The Rhode Glazing Milk is a beautiful product for dry and normal skin — but it contains coconut alkanes, oleic acid, and coco-caprylate/caprate, all of which are known to clog pores on acne-prone skin. Sephora reviews tell the story:
"I broke out after using only a few days and this was the only thing that had changed in my routine."
"If you are prone to acne or clogged pores DO NOT GET THIS!" — ★★☆☆☆
"Angry cystic acne all under my chin, around my temples, and little bumps under my skin, just after 3 days of use."
This does not mean the product is bad — it means it is not for everyone. If you have acne-prone or congestion-prone skin, reach for the TirTir Milk Skin Rice Toner, Innisfree Green Tea Ceramide Milk, or Anua Rice 70 instead. They skip the coconut-derived emollients entirely.
Want to check for yourself? Run any product's ingredient list through our 🔍 See the full Rhode Glazing Milk ingredient analysis here — every ingredient is broken down with safety ratings and comedogenicity scores so you can decide what is right for your skin.
The other prep mistake: relying on primer to fix skincare problems. Primer is the final prep step, not a substitute for toner, serum, and moisturizer. Layer your skincare, let each step absorb for about a minute, and then apply primer. Your makeup will wear six to eight hours longer.
If your skin underneath is dehydrated, flaky, or congested, no primer in the world will save your foundation. Fix the skin first and the makeup follows.
Watch how proper skin prep changes everything:
Foundation Mistakes That Add Years to Your Face
This is where most of the damage happens. A handful of foundation habits age you more than anything else in your routine:
Mistake 1: Ignoring oxidation. Foundation darkens within about four minutes of hitting your skin. If your shade looked perfect in the store but turns orange by lunch, oxidation is the culprit. The professional fix is to buy foundation one shade lighter than your match. It will settle into your true shade as it oxidizes. If your foundation is already turning on you, read our guide to foundation oxidation for the full science and every fix.
Mistake 2: Using the wrong finish. A full-matte foundation on dry or mature skin clings to every flake and fine line, making you look a decade older in direct light. If you are not sure which finish suits your skin, our foundation finishes guide breaks down matte, dewy, and satin so you can pick the right one. For most skin types over 30, a satin or natural finish is the sweet spot: enough coverage without that flat, chalky look. And if your current foundation is too heavy, try mixing it with a milky toner or hydrating essence on the back of your hand before applying — this thins the formula into a sheer, skin-like finish that does not settle into lines.
Mistake 3: Rubbing instead of pressing. Dragging foundation across your face with a wiping motion moves the product around rather than depositing it evenly. The professional technique is to press, stipple, and bounce using a damp beauty sponge or a dual-sided paddle brush like the BK Beauty N17 Multi-Pro Face Brush which works for liquid, cream, and powder in one tool. Dab product from the back of your hand (not directly onto the brush) so you control the amount. Build thin layers rather than slathering one thick coat. For a foundation that naturally lends itself to a skin-like satin finish, the Giorgio Armani Luminous Silk Foundation is the industry standard — it builds from sheer to medium without ever looking heavy.
Mistake 4: Wearing full-coverage foundation every single day. Reaching for a heavy foundation as your daily default is one of the fastest ways to age your face over time. Layered full coverage settles into texture, flattens dimension, and reads as obvious makeup instead of skin. Save the full-coverage foundation for the days you genuinely need it — events, photos, persistent redness — and on regular days, swap to a skin tint or tinted SPF. The category has gotten so good in the last couple of years that there is genuinely something for every skin type:
Serum-based and niacinamide-rich with built-in SPF 40. The gold standard for dry-to-normal skin that wants real glow without weight.
A true tinted mineral SPF with non-nano zinc — built for sensitive, acne-prone, or reactive skin. Soft satin finish that does not clog or break out fussy skin.
Buildable light-to-medium coverage that wears like a second skin, with hyaluronic acid for hydration and a blurring effect that smooths pores and fine lines. Inclusive 24+ shade range and an Allure Best of Beauty winner.
The most forgiving option for mature or dehydrated skin. Melts in like a moisturizer, brightens without ever sitting heavy, and now reformulated with hyaluronic acid.
These all even out your tone, let your real skin show through, and most of them build in sun protection — which is the single biggest defense against the visible signs of aging in the first place. Your skin under your makeup needs days of breathing room, and your face will quietly start looking younger because of it.
The Nose Problem Nobody Can Solve
Foundation separating on the nose is the most common complaint out there, and the cause is almost always a formula mismatch. Silicone-based primer under water-based foundation (or vice versa) creates a slip layer that breaks apart within hours. Match your base chemistry: silicone with silicone, water with water.
For stubborn nose separation, use the powder sandwich method: apply a thin layer of translucent powder over your primer but before foundation, then apply foundation, then set with powder again. This locks product in place far more effectively than powder alone. An even more aggressive hold comes from using an eyeshadow primer on the nose instead of face primer.
See the difference proper foundation technique makes:
Concealer and Powder Traps That Emphasize Lines
Concealer is supposed to brighten and lift. Instead, most people use it in ways that actually emphasize the under-eye area and make fine lines more visible.
Over-blending is the number one concealer mistake. You apply a beautiful layer of concealer, then blend so aggressively that you wipe most of it away. The fix: blend only the edges, not the center. Use a patting and pressing motion rather than swiping, and let the concealer sit for one to two minutes before touching it. This "self-setting" time lets the formula partially dry down, giving you better coverage and longevity. For a deeper breakdown of how concealer and foundation work together, see our concealer vs foundation guide.
Concealer that is too light is the silent ager. A concealer two shades lighter than your foundation creates a stark white-grey halo around the orbital bone — the reverse-raccoon effect — that emphasizes every line and reads as obvious makeup instead of hiding what you wanted to hide. Stay within one shade lighter at the absolute most, and match the undertone to your foundation.
Setting creases into place is the next trap. If your concealer has creased before you powder, and you set it with powder anyway, you are locking that creased texture in permanently. Always smooth out any creasing before you set. Re-blend if needed, then powder lightly.
And about powder itself: too much powder is the single fastest way to age yourself. Powder settles into every fine line and wrinkle, creating a dry, textured finish that adds years. The Hourglass Veil Translucent Setting Powder is finely milled enough to avoid cakiness — and lighter on skin than the cult Laura Mercier — but the real trick is how you apply it. Press lightly with a velvet puff only where you need oil control: the T-zone, around the nose, and along the chin. Leave the rest of your face unpowdered for a natural, dimensional look.
"You need to set your entire face with powder to make makeup last."
Tap to revealPowder everywhere emphasizes texture and fine lines. Set only oily areas (T-zone, nose, chin) and leave the rest of your face unpowdered. Setting spray does the rest.
"Letting concealer sit before blending gives better coverage."
Tap to revealLetting concealer "self-set" for 60-90 seconds before blending the edges allows the formula to partially dry down, giving you significantly better coverage with less product.
"Mature skin should avoid powder completely."
Tap to revealMature skin absolutely can use setting powder. The key is finely milled formulas applied sparingly with a fluffy brush, only in the T-zone. Follow with a hydrating mist to melt the powder into your skin.
Here is how to apply concealer without aging yourself:
Contour, Bronzer, and Blush Blunders
Color placement is where people unknowingly carve shadows that age their face instead of sculpting it. These are the most common culprits:
Contour that is too harsh. Shadows deepen naturally with age. When you add aggressive contour on top of that, you do not look sculpted, you look hollow. The fix is to use bronzer to add warmth rather than carve shape. A light dusting along the temples, jawline, and tops of the cheeks creates natural dimension without harshness. For a full breakdown of where and how to place contour, check our contouring tutorial.
Applying bronzer and blush in the wrong order. Bronzer goes first to warm and sculpt. Blush goes on top for color. If you apply blush first, the bronzer muddies it and you lose that fresh pop of color entirely.
Not pre-blending product into the brush. Picking up powder blush or bronzer and going straight to your face is a recipe for splotchy, unblended patches. After loading your brush, tap off excess and swirl the product into the bristles on the back of your hand first. This distributes the pigment evenly across the brush so every stroke is diffused.
Forgetting the center of the face. If you only apply bronzer and blush to the perimeter, the center of your face looks flat and disconnected. Lightly dust a bit of bronzer across the bridge of the nose, center of the forehead, and chin to tie the look together. This creates a cohesive, sun-kissed effect that reads as natural warmth.
Not blending bronzer into the hairline. Stopping bronzer at the forehead edge creates a visible line. Blend up into and slightly past the hairline for a seamless transition.
Always apply bronzer before blush. Bronzer warms and sculpts, then blush adds the fresh color pop on top. Reversing the order muddies the blush.
After loading your brush, swirl the product on the back of your hand before touching your face. This distributes pigment evenly and prevents splotchy patches.
A light sweep of bronzer across the nose, forehead center, and chin ties the whole look together. Without it, your face looks flat and disconnected.
Bronzer that stops at the forehead creates a visible line. Blend up into and past the hairline for a seamless, natural transition.
Watch how proper blush and bronzer placement lifts the face:
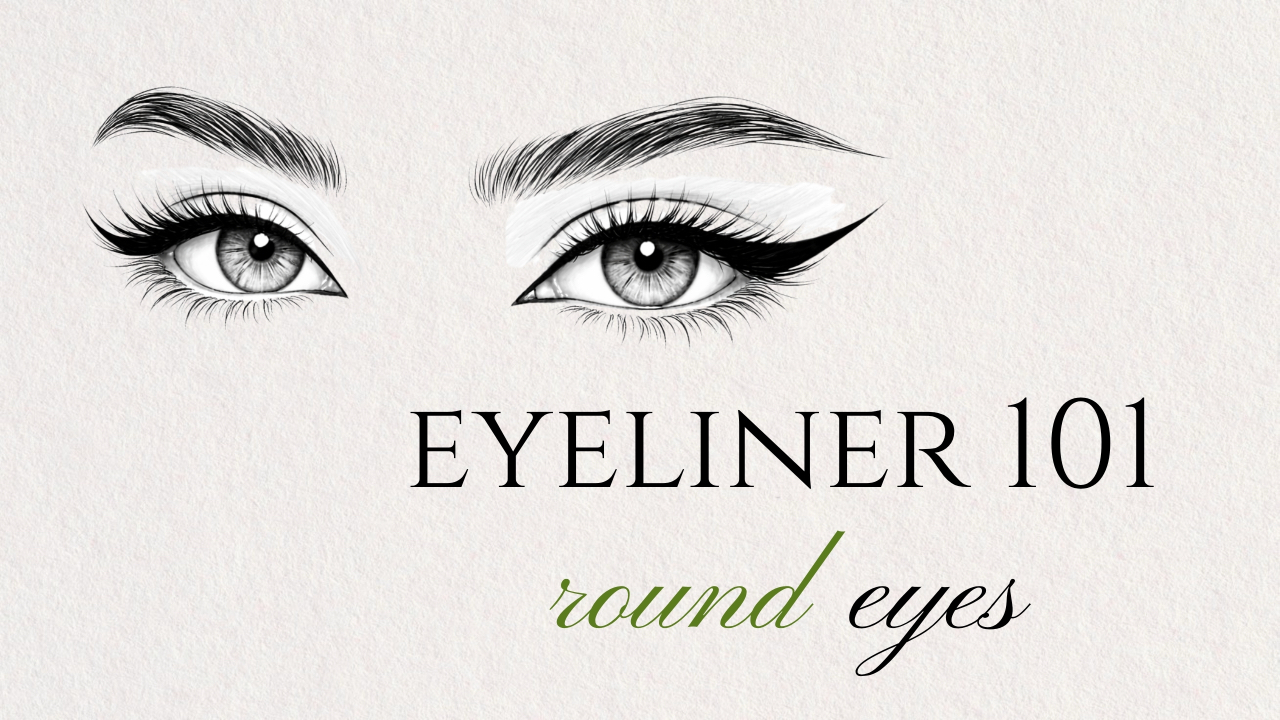
Eye, Brow, and Lip Mistakes That Drag Everything Down
The eyes and lips are where small mistakes have the biggest visual impact.
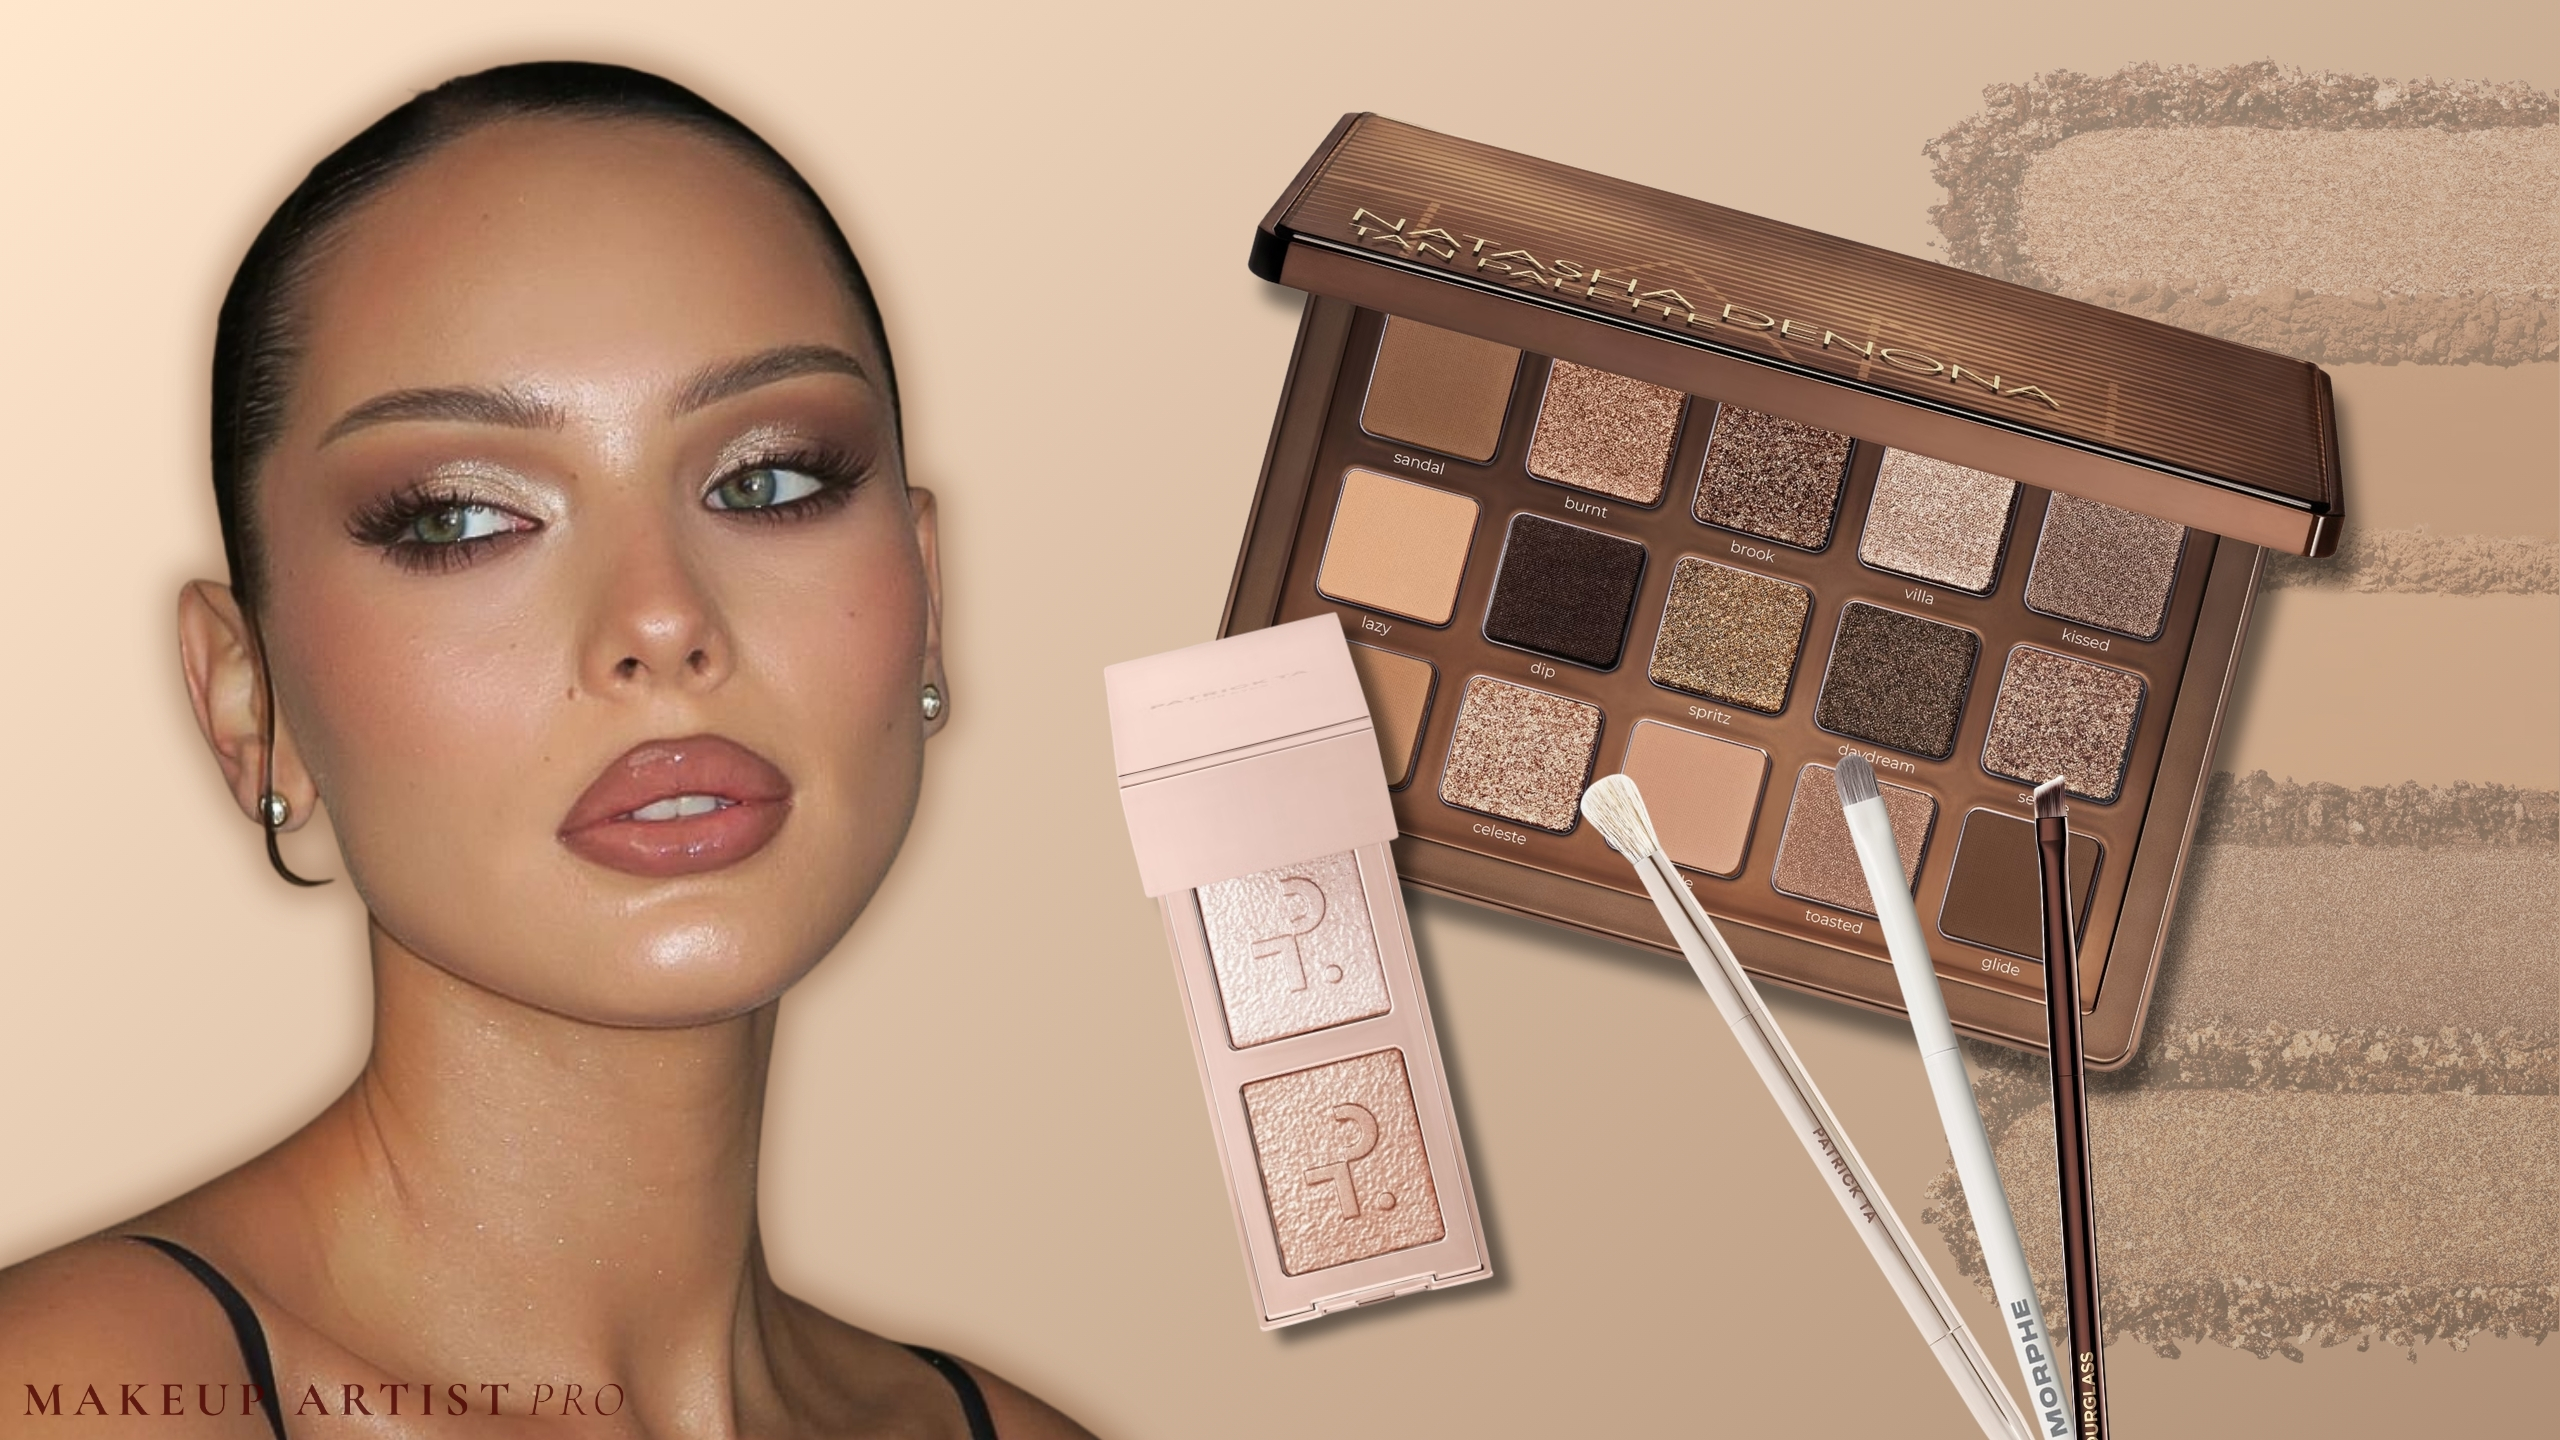
The single biggest eye mistake is just doing too much. Heavy eye makeup in any form — thick liner, opaque shadow on the full lid, layered mascara top and bottom — adds visual weight and drags the whole face down. A youthful eye is a light eye: soft definition in the crease, a swipe of a neutral matte lid color, lashes curled, one coat of mascara on top, the lightest tap on the bottom. That is the entire formula. Save the smoky, layered, fully-blended drama for nights you want it — and for everyday makeup, leave the eyes 30% lighter than feels natural to you. You will look five years younger immediately.
Heavy black liner on the lower lash line is like attaching tiny weights to your eyes. It drags them downward, makes them appear smaller, and emphasizes dark circles. After your mid-thirties, swap to a soft brown or grey liner applied only to the outer third of the lower lash line. The effect is definition without the droop.
Going heavy on the bottom lashes with mascara. The same downward-pull effect that black liner creates also happens when you coat your lower lashes in thick mascara — it casts a shadow under the eye, emphasizes any darkness already there, and visually drops the eye on the face. Skip the lower lashes entirely or use the tip of a thin-wand mascara like the L'Oréal Paris Telescopic Mascara to dust on the lightest possible coat. Save the volume for your upper lashes, where it lifts the eye instead of dragging it.
Skipping eyeshadow primer. Without a base, eyeshadow creases, fades, and looks patchy within hours. A cream shadow in a neutral shade can double as a primer, and it gives your shadow something to grip onto.
Shimmer eyeshadow on textured or mature lids. Shimmer particles catch light unevenly across creased, crepey, or hooded lids — and instead of looking glowy, they emphasize every line and bit of texture they sit on. For everyday wear after your mid-thirties, reach for matte or satin shadows in soft neutrals and save the shimmer for a single, controlled placement: a tiny tap of fine shimmer on the inner corner or the very center of the lid only, where the skin is flattest. If you love shimmer and don't want to give it up, look for finely-milled satin formulas (not chunky glitter) and press them on with a fingertip instead of a brush — the warmth from your finger melts them into the lid instead of scattering them across texture.
Wrong brow shape or shade. Brows that are too thin make you look older; brows that are too dark look unnatural. The fix: use light, hair-like strokes with a fine pencil like the Anastasia Beverly Hills Brow Wiz and match your brow shade to your natural hair color or go one shade lighter. If you are not sure what brow shape suits your face, our eyebrow shapes guide walks through every face shape.
Skipping lip liner lets lipstick bleed and feather into the fine lines around your mouth. A lip liner matched to your natural lip shade acts as a barrier and extends wear time significantly. One extra pro trick: lightly dust setting powder around the lip line before applying lip products. This creates an invisible fence that prevents bleeding entirely.
Overlining the wrong way. If you do want a fuller lip, overline only in the center — the cupid's bow on top and the very middle of the bottom lip. Never extend liner past your natural outer corners. Overlining to the corners stretches the mouth horizontally and makes lips read as longer and thinner, which has the opposite of the plumping effect you wanted. Center-only overlining lifts the lip vertically and reads as natural fullness instead of obvious liner.
Matte lipstick on dry lips accentuates every crack, flake, and vertical line around the mouth — and in a close-up, the lips age you faster than the eyes do. The fix is not avoiding matte lipstick entirely; it is prepping the lips first. Exfoliate gently the night before, apply a hydrating lip mask or thick balm in the morning and let it absorb for at least five minutes, then blot the excess before any color goes on. If your lips are persistently dry no matter what, switch to a satin or cream finish lipstick — the formulas hydrate as they wear instead of drying down into the cracks.
Eyeliner on textured lids. If your liner drags and skips across creased or mature eyelids, try mixing a tiny drop of eye cream into your liner product. This hydrates the formula just enough to glide over texture while maintaining color payoff.
Before applying lip liner, dab a fine-shimmer highlighter along your lip contour. The light-reflecting particles optically fill fine lines and create a smooth surface for liner to glide over. It doubles as a subtle lip plumper effect.
Pro do's and don'ts for eyes, brows, and lips:
The Finishing Step Everyone Skips
You have done everything right: skin prep, foundation, concealer, color, eyes, lips. And then you skip setting spray. This is like painting a masterpiece and leaving it in the rain.
Setting spray does two critical things. First, it melts all your layers together. Powder over cream over liquid creates distinct strata on your face. A generous mist of setting spray fuses them into one cohesive finish that looks like skin, not makeup. Second, it extends wear time by hours. The Charlotte Tilbury Airbrush Flawless Setting Spray is the gold standard, holding everything in place for up to 16 hours.
How to apply: hold the bottle about eight inches from your face and spray in an X pattern, then a T pattern. Use more than you think you need — most people underapply. A pro-level move is to mist setting spray throughout your complexion layers, not just at the end. A light mist after foundation, another after concealer and powder, and a final coat after everything is done. This fuses each layer to the one below it for dramatically better wear.
Products That Fix These Mistakes
These are the products I reach for to correct the most common aging mistakes.
Glycolic and lactic acids in a pre-soaked pad. Swipe one across your face before makeup and dead skin dissolves in seconds — foundation grips smooth instead of catching on flakes.
A serum-foundation hybrid with an 82% hydrating base, hyaluronic acid, and smoothing mandelic acid that flexes with the face instead of sitting on top of it — satin-luminous, never matte, never cakey. The best test for any foundation is whether it can be worn on mature skin. If it can, you know it will work seamlessly on every skin type.
Even lighter on skin than the cult Laura Mercier — feels weightless while still locking the T-zone in place. Press a tiny tap only where you actually need oil control and leave the rest of your face bare.
Ultra-slim tip mimics natural hairs. Go one shade lighter than you think for the most natural, age-defying result.
Melts all your layers into one cohesive finish and locks everything in place for up to 16 hours.
Plumps and hydrates skin before makeup. Mix it into foundation to thin heavy formulas into a sheer, skin-like finish.
Dual-sided paddle brush that handles liquid, cream, and powder. One tool for foundation, contour, blush, and bronzer.
The industry-standard satin finish. Builds from sheer to medium without ever looking heavy or settling into lines.
The cult primer-moisturizer hybrid that floods skin with hydration before makeup so foundation glides instead of grabbing. And the smell — fresh citrus, warm florals, the slightest hint of cucumber — is genuinely to die for.
Test Your Makeup Mistakes IQ
Test Your Makeup Mistakes IQ
5 questions. How well do you really know this stuff?
Answer a few quick questions in the Base Makeup Troubleshooter to see whether it is cakey build-up, under-eye creasing, or the wrong finish — plus the first fix to try.
Frequently Asked Questions About Makeup Mistakes
Cakey makeup is almost always caused by one of three things: skipping moisturizer, applying too much product in one layer, or over-powdering. Exfoliate two to three times per week, apply foundation in thin layers with a pressing motion, and set only the T-zone with powder.
No. Mature skin can absolutely use setting powder. The key is using a finely milled translucent formula applied sparingly with a fluffy brush, only in oily areas. Follow with a hydrating setting spray to melt the powder into your skin and avoid a dry, flat look.
The nose has more oil glands than almost anywhere else on your face. The most common cause is mismatched primer and foundation formulas (silicone primer with water-based foundation). Match your base chemistry, and try the powder sandwich method: primer, then powder, then foundation, then powder again.
Apply a thin layer and let it sit for 60 to 90 seconds before blending the edges. Never blend the center, only the perimeter. Set lightly with finely milled powder using a pressing motion, and always smooth out any creasing before you set with powder.
Apply contour first (if using), then bronzer for warmth, then blush for color on top. This prevents bronzer from muddying the blush. Pre-blend each product into your brush on the back of your hand before touching your face.
Most foundations oxidize to some degree, but the severity depends on your skin's pH, oil production, and the foundation formula. The simple fix is to buy one shade lighter than your perfect match, which compensates for the darkening that happens in the first few minutes of wear.
The Bottom Line: Younger-Looking Makeup Is Simpler Makeup
Every single mistake on this list comes down to one principle: less is more, and technique beats product every time. You do not need more coverage, more powder, or more contour. You need better prep, lighter application, and the right finishing steps. Fix these habits and your makeup will start working with your face instead of against it.
The best makeup is the makeup nobody notices — just great skin.